DIY Ohio State Buckeye Bench
Show your Buckeye fan pride with this simple to create, re-purposed fence post bench! Ok but I know not all of you are Buckeye fans, this bench can be made into what ever sports team you wish, Just buy the paint in your team colors and follow the instructions below.
This project is designed to fit the space you need, so you can use various sizes of fence board; based on what you have on hand.
This bench is approximately 49 inches in height x 14 inches deep x 22 inches in width.
Supplies Used:
- Miter Saw
- Screws
- Finishing nails
- Hammer
- Drill
- 3.25 inch nails
- Red Barn Paint
- Grey Paint
- Large Paint Brushes
- Small Paint Brushes
Begin by picking out your fence posts and removing all of the nails.
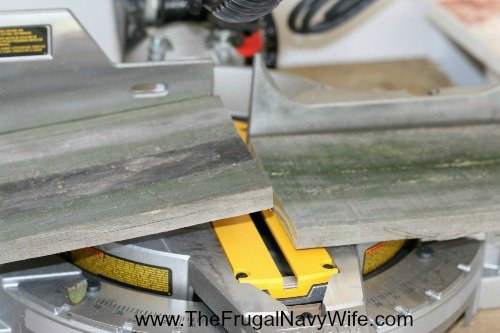
Cut the back boards for the bench approximately 35 inches in length. I used a miter saw to achieve a clean even cut.
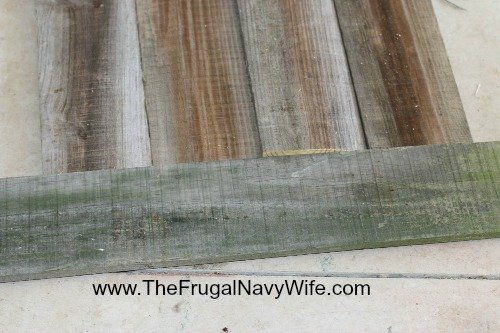
Turn the boards over and align the edges using a 4×4 or other straight edge board at one end of boards to ensure a straight line.
Keep in mind that these boards may be warped and weathered, that is okay, just align them the best that you can. They do not have to be perfect, as I am not a carpenter.
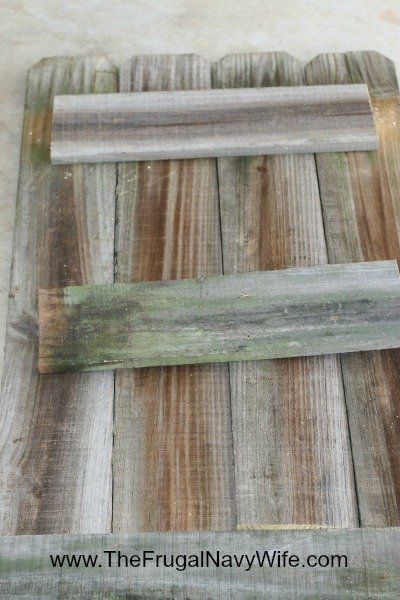
Once turned over and aligned, cut a board that will go perpendicular across all of the boards, approximately 30 inches. Make 2 of these. Attach both boards across the back to secure your back boards; evenly spaced. I try to use supplies that I have on hand, so I utilized screws to hold the cross-boards in place; using 2-3 screws per board. Warped boards may need 3-4 to hold them in place. Depending on the depth of your fence post, you will want to use screws or nails that will penetrate through both layers without going completely through.
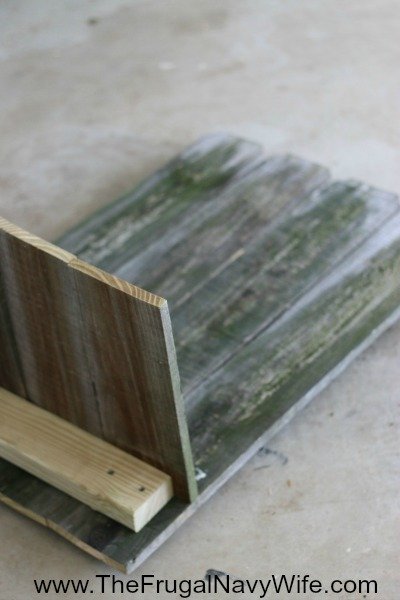
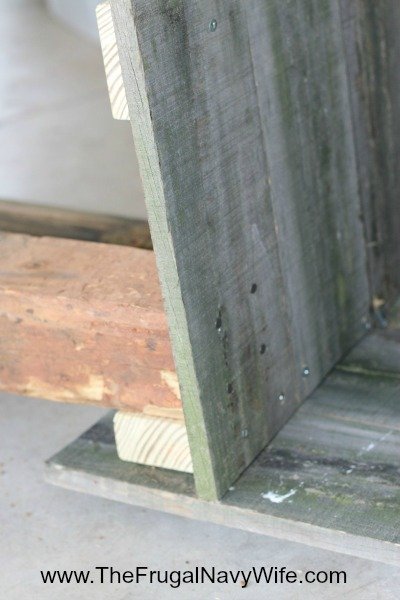
Secure a 2×4 to the lower part, front of your back board; allowing approximately 3 inches of back board to fall below your 2×4.
Once your back board is secured, cut 4 boards approximately 14 inches deep. This will be your seating area. I used the next section from each fence post to continue the bench seat.
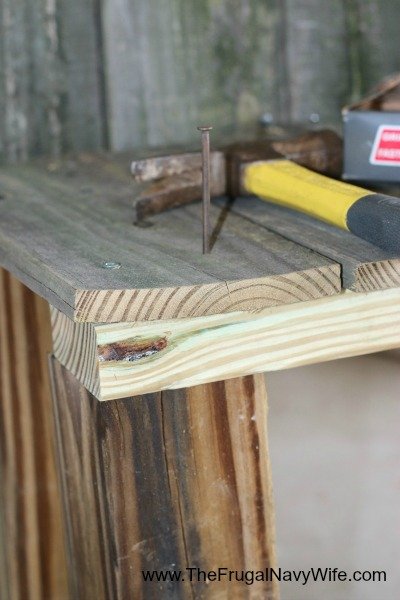
Now you can secure your 4, 14 inch seat boards to the top of your 2×4 AND using finishing nails; secure from the back as well.
Cut a 2×4 approximately 21 inches that will secure the ends of your bench seat. Tack from the top of the seat, securing your 2×4 under your bench seat.
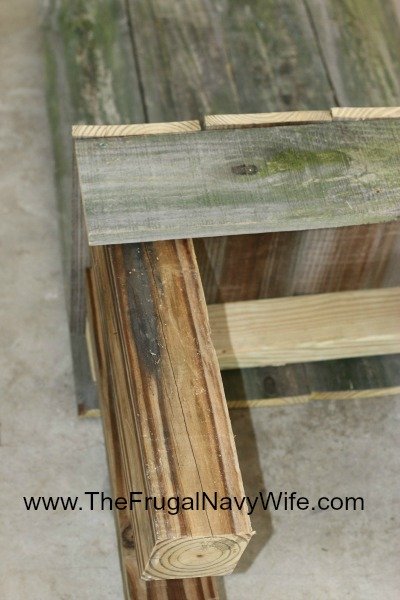
Using the 4×4 posts, cut 2 18 inch posts for the back of the bench and secure them using 3.25 inch nails from the back and from the top.
Cut 2 of the 4×4 17.75 inches for the front. You may need to adjust this length just a bit to ensure that your bench will be even. Secure the front 4×4 with the 3.25 inch nails from the top.
Cut a section from the fence to go across the front of the bench. You can also cover the sides as well if you prefer. Secure the front 22 inch fence section with finishing nails all the way across the seat boards.
Once your bench is a free standing piece, choose some paint. I chose to use barn paint so that I could also use my bench on my porch during football season. I went with scarlet to support my favorite football team, the Ohio State Buckeyes!!
Paint the entire bench and allow to dry. Add some decorative hooks to each plank about 4 inches from the top.
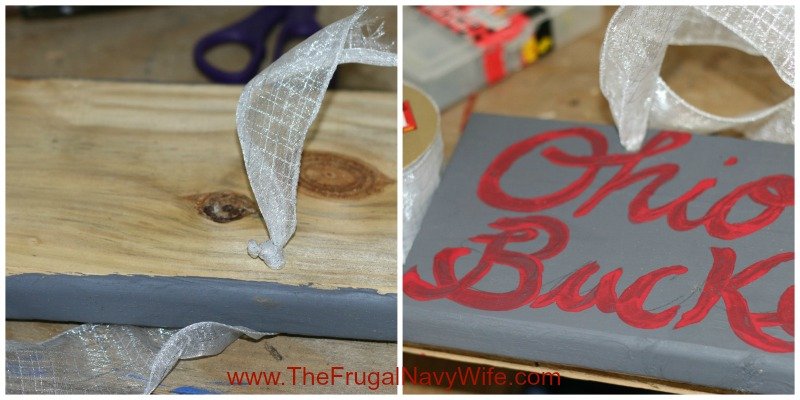
Making your sign is very simple. Use a scrap piece of board, drill 2 holes in the top and paint all of it grey. I actually found some paint in the clearance section of the paint store that someone had previously returned! Be sure to always check the clearance sections for great deals on your crafting projects.
Using a pencil, write the words on your dry grey sign. You can use a stencil if you prefer. Using your red paint, go over your letters with a small brush, you may need two layers of red paint.
Once your sign is completely dry, use some cheap ribbon inserted through the drilled holes and tie in the back. Hang your sign over the 2 inner most fence boards and you are all set!
Go Bucks!




Leave a Reply