DIY Burlap Covered Box
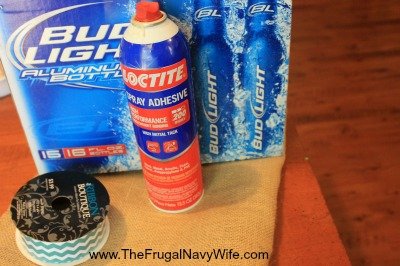
I love the look of custom home decor pieces, but not so much the price tag that accompanies them from pricey home decor stores. In an effort to dress up my home without breaking the bank I like to rescue items from the recycle bin and give them a facelift. I needed some pretty baskets for some shelves that could hide my office supplies. Hubby enjoys his Bud Light in aluminum bottles and the cases just happen to be very sturdy so they make excellent baskets. Liquor cases from the liquor store or diaper boxes are also good sturdy bases for homemade baskets that last. A can of adhesive spray, 2 yards of burlap, and 30 minutes will yield you 4 beautiful custom baskets that can be use anywhere to hold anything- office supplies, books, homeschool curriculum, snacks even on pantry shelves. Using a 40% off coupon I was able to pick up two yards of burlap fabric for just over $5 and a roll of 2” ribbon for $2, of course my boxes were free so it is truly a frugal project.
Supplies Needed:
- sturdy cardboard boxes (diaper boxes are perfect for this!)
- burlap cloth by the yard
- 2” wide grosgrain ribbon
- adhesive spray
- scissors
Directions:
Measure your intended box-all the way around and the height.
Add 2” to length and 8” to height, then cut burlap.
An awesome tip that i learned from the lady at the fabric counter is to pull out the thread where you want to make the cut, this creates a guide and helps you cut a straighter line.
Take your box and fabric outdoors for ventilation (ignore that mine was inside on the table, it was too wet and rainy for outdoor projects
Spread fabric out on a table or other flat surface, spray well with adhesive.
Spray outside circumference of box completely.
Place box in center of fabric lengthwise, position it so that there is 2-4” of fabric below box and 5-6” and press firmly into burlap, wrap around sides, smoothing as you go.
Continue around, smoothing ends together to create a seam on the back.
For the bottom, spray around a 2” diameter, fold fabric like you would a package, and press down, if needed add additional spray to inside of corners.
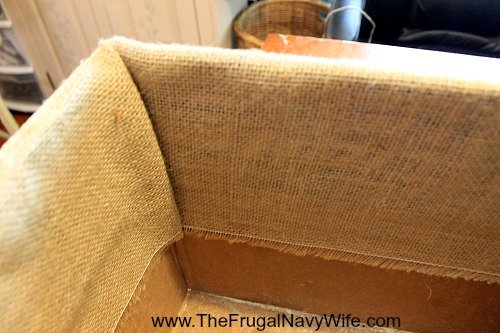
Spray inside the box, and fold fabric inside on the ends, and then the front and back, tucking corners down- i left a generous amount of fabric at the top so when the baskets are on a lower shelf they appear to be finished inside as well, without wasting fabric.
Cut ribbon the same length as burlap/box, spray the back generously with adhesive spray and wrap around box, try to make the back seam line up with burlap seam to create a nice finished line.
Allow adhesive to dry fully before putting anything inside the box.
NOTE: Depending on the weave of your burlap and also the print on your box you may want to prime box with a light coat of a tan or cream spray paint so nothing will show through.


Great idea! I plan to do this soon… Nice storage boxes are expensive!