Gathering a few friends or a few kids together and doing a canvas painting has become quite a trend these days. It can be a really great time together and for some who have never painted, also a learning experience. There is nothing that screams fall more than pumpkin decorations. I promise pumpkin painting is NOT as hard as it might look, I will show you how to paint a pumpkin step by step below, grab your paint and enjoy!
Pumpkin Decorations & Pumpkin Painting – How to Paint a Pumpkin
This pumpkin painting is meant to bring some great bonding time while teaching a few painting techniques, so grab your supplies and either a few kids for a homeschool or holiday gathering, or just invite a couple of friends over and enjoy yourselves. In no time, you’ll have a great keepsake you can hang up every fall!
What you will need for each person
Easel if desired
Palette or thick paper or plastic plate
Pencil and eraser
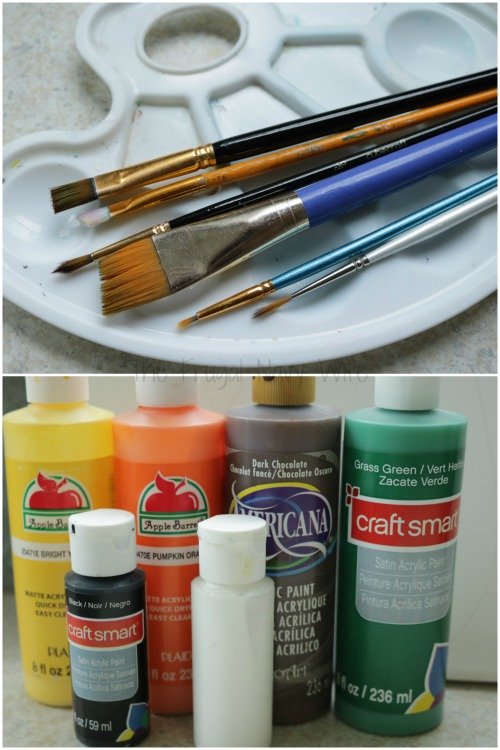
Variety of paintbrushes, (shown in photos)
11” x 14” canvas
Water cup
Paper towel
Small plate for sketching pumpkin if desired
The following colors of paint:
Black, white, orange, yellow, green and brown
Now for the how to paint a pumpkin part. Turn your canvas horizontally, so it’s wider than it is taller. You will want to sketch the pumpkin and some leaves on the canvas, both at the top and down at the bottom where the pumpkin is sitting.

Just sketch lightly and don’t worry about too much detail. All you need is the outline basically, and you will be painting over this part, so no need to spend much time on it.
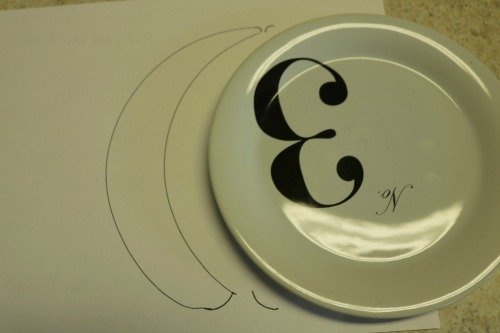
One way to help get the curve right on the pumpkin is to use a small plate as your guide.

The pumpkin should be off-center to one side or the other of the canvas, and you will need to decide where its center is, and mark that for your stem. Then, place the plate to either side of the center and use it to establish those first few lines and ridges of the pumpkin body. See photos. Then, you can continue to sketch the rest of the outline once the basic shape is there. You want to make the stem interesting, not just a little stub, so bring it up, and you will paint the details later, but it should end with more of a vine shape than a cutoff stem.
Also, get a few good leaves in there too, one or two at the top and a few at the bottom. This will help break up the pumpkin shape and get you some other nice color for contrasting in the painting.
Feel free to erase if needed, but just be sure to brush any eraser dust off before you begin painting.
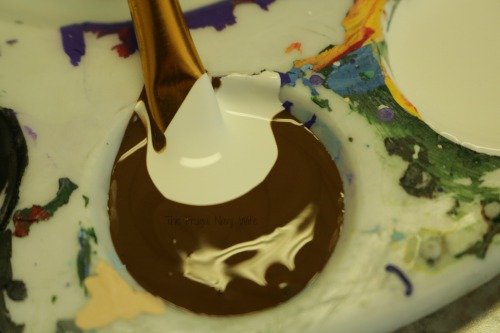
Next, let’s start painting. The first thing we need to paint is the background. I mixed my brown and white to get that tan shade. So on your palette, place some brown paint, a good amount, too, you will need it, and then skip a spot and put white on the other side. In the middle of those take a few brush-fulls of brown and then one at a time, mix with a brush full of white with that brown until you achieve the shade of tan you prefer. Make sure it’s light enough that the orange pumpkin and its brown stem and vines will stand out on it. If it’s too close, it won’t look as nice.
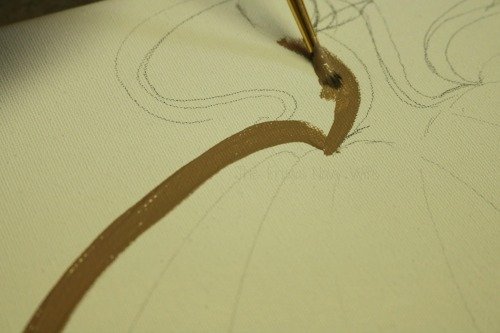
Now, you will first paint around the pumpkin and leaves with a thinner brush before filling in with a larger one. Dip one of your small to medium, longer shaped brushes in your water and then blot it on the paper towel first. This will help the paint get flowing. If the brush is dry, it’s harder to get it started. You do not want it really wet, just damp. Each time you use a new brush in this painting, repeat that with them, too.
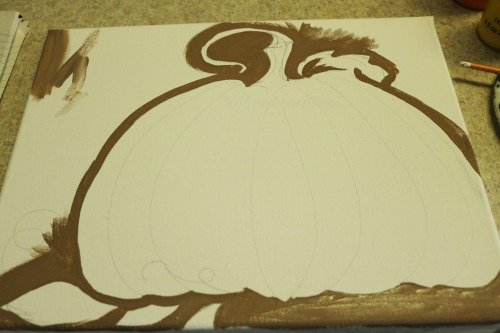
Now go ahead and paint all the way around the pumpkin, around the leaves and get in between any smaller places so you don’t have to try with the big brush to do that. Also, don’t forget the outside edges, either. Then, once your shape is there, you can grab a large brush and go ahead and fill in the rest of the background. With brown paint it does sometimes need more than one coat, so as it’s drying, if you see any canvas showing through, go ahead and give it a second light coat.
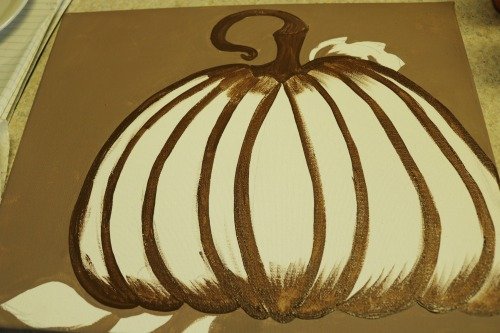
Next, Go back to the thinner brush and paint some brown into the stem and down each ridge line on the pumpkin. This will give the pumpkin some depth and make it look less flat than if we just went right on it with orange. Also, once your background is fairly dry, lightly paint some brown under the bottom side of the pumpkin and around those leaves at the bottom. Be sure to take that brown around the sides and the bottom edge as well. When this hangs on the wall, you won’t want any white to be there showing.
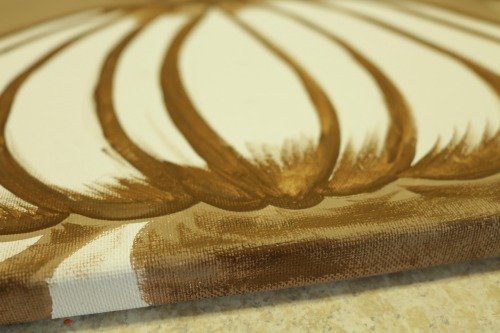
Be sure to take that brown around the sides and the bottom edge as well. When this hangs on the wall, you won’t want any white to be there showing.
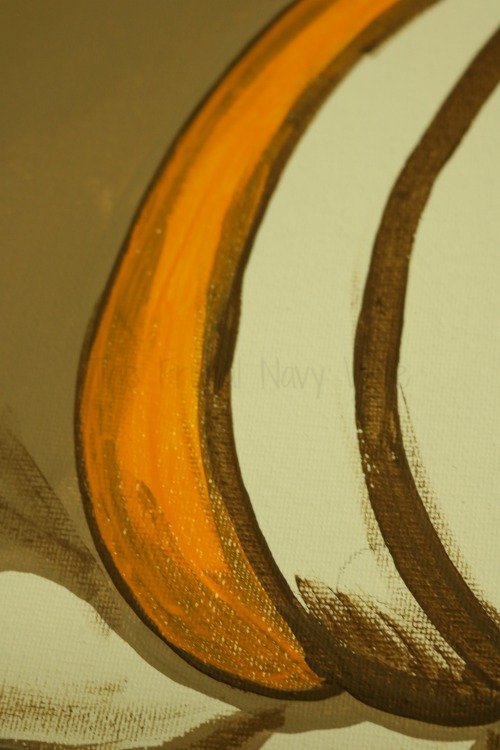
Now we can start on the orange. We will do the same technique with the pumpkin shape as we did with the background. Use a smaller brush to outline each section and the outside of the pumpkin first and then go back in with a medium to large brush, whatever you are most comfortable with, and fill in the rest of the orange.
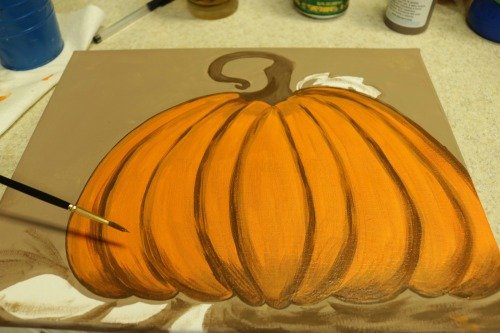
By this time, you should be able to see if your stem you painted brown needs another coat as well. If it does then once you’ve done a good coat of orange, go back and paint that in, and then do the same with the orange, painting again if needed to fill in.
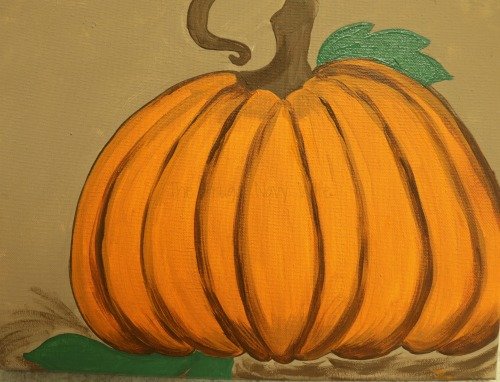
Now, let’s paint the green leaves. It is up to you the shade of green you’d like them to be. If you don’t want them dark green the paint already is, you can lighten it with a little white or add a bit of yellow to it as well.

I prefer the darker and then add some highlights to it after. Use a smaller brush to outline the leaves and then fill in with a fairly small one, since they are not very big.
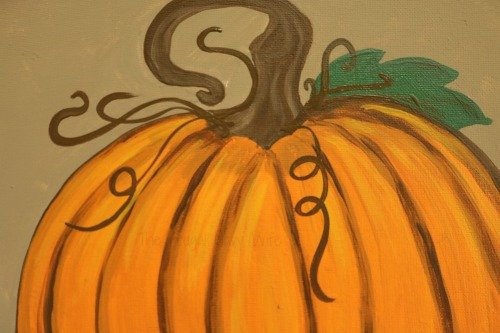
Now comes the detailing that really brings the whole thing together. You will be mainly using your smallest two brushes for the rest of the time. You will need to blend some white and brown again and shade your stem. You will go back and forth between that mixed color and the solid brown for this. Give it some lines that show the curves it should have and then lighten some of the middle area of it, in between those lines. Use the dark brown to establish the lines and then anywhere you feel it needs some shadow.
Next, use the dark brown on the pumpkin body in the ridge lines. They don’t have to be perfect, solid lines, in fact, they look more authentic if they are not. Go down the line lightly the first time and don’t start right at the top on all of them. Up where the stem meets the pumpkin you will also need to fill in with some brown to finish that part off and then connect that area to a few of the center ridge lines, to give shadowing.
Work those lines down the pumpkin and follow them all the way around the bottom, and then do some light painting to give shadows and depth along the bottom edges.
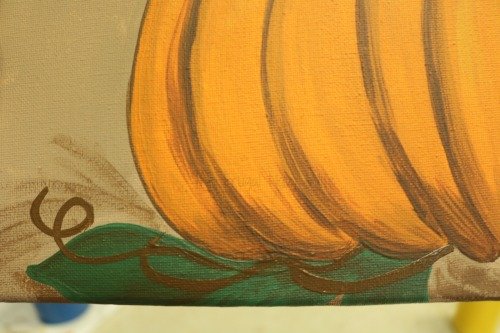
Before you paint any vines in with the brown, be sure your leaves are all done. If they need some highlights or lines put in them to make them look fuller and less flat, then go ahead and give them those. Use a little yellow blended with your green to highlight them and darker green to make any lines down the center or shadow the bottom sides of them.
Now, using your tiniest brush, make some vines coming off the pumpkin near leaves and the stem. If you feel uncomfortable to do it, then lightly sketch them on first, but be careful not to go too dark or hard, because you can’t erase very easily at this point or you run the risk of pulling up or ruining the paint.
Make a few brown branch-like pieces at the bottom where the pumpkin sits in addition to the vines as well. This helps give that area some depth.
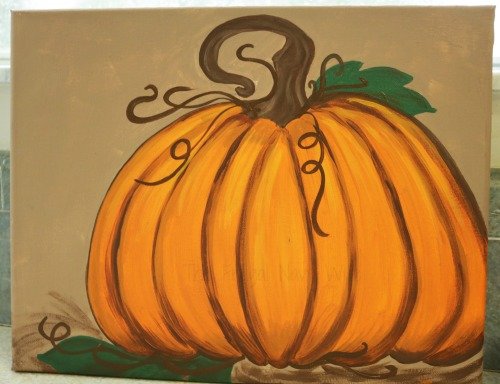
Now the last thing to do on the pumpkin itself is to highlight the sections between the ridges with a little yellow. Just use a medium brush at most, smaller is ok too, and put a highlight along the curve in each section to one side. It won’t be really dark, but it really helps give it that last pop it needs to look full.
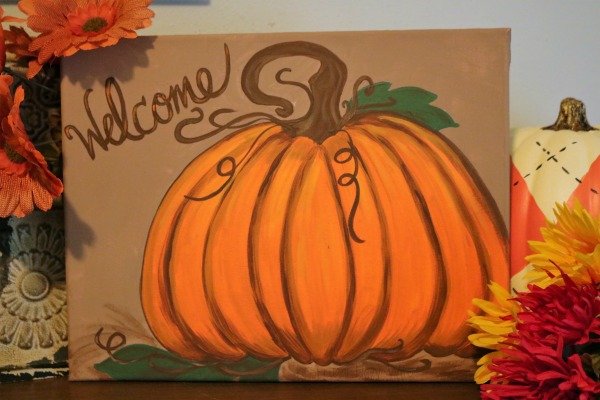
Last thing, adding a word to the canvas if you choose to.
You can pencil it on first if desired, but as I warned before, just be very light and careful. Then use your smallest brush to paint it in. If you keep in mind that as long as the brush is wet with paint and you use it like you would a pencil when you draw or write, it is less tricky. Steady your hand on the canvas and take your time.
Now, sign your canvas and you are all done! Happy Fall!
Looking for more pumpkin decorations? Check out more of our great pumpkin DIYs
This was great Thank you.