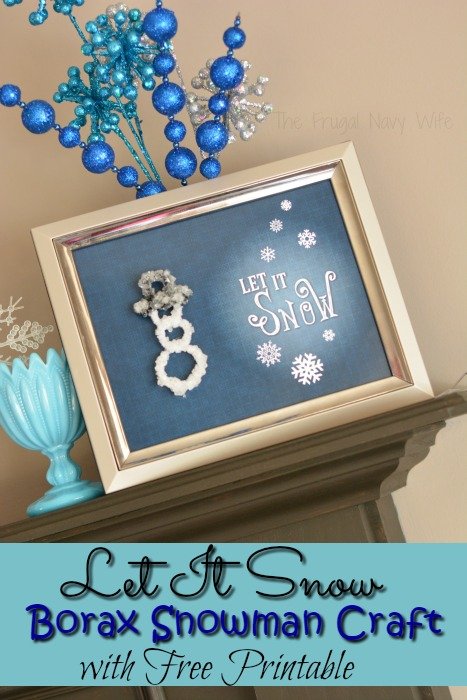
Let it Snow Borax Snowman Craft with Free Printable
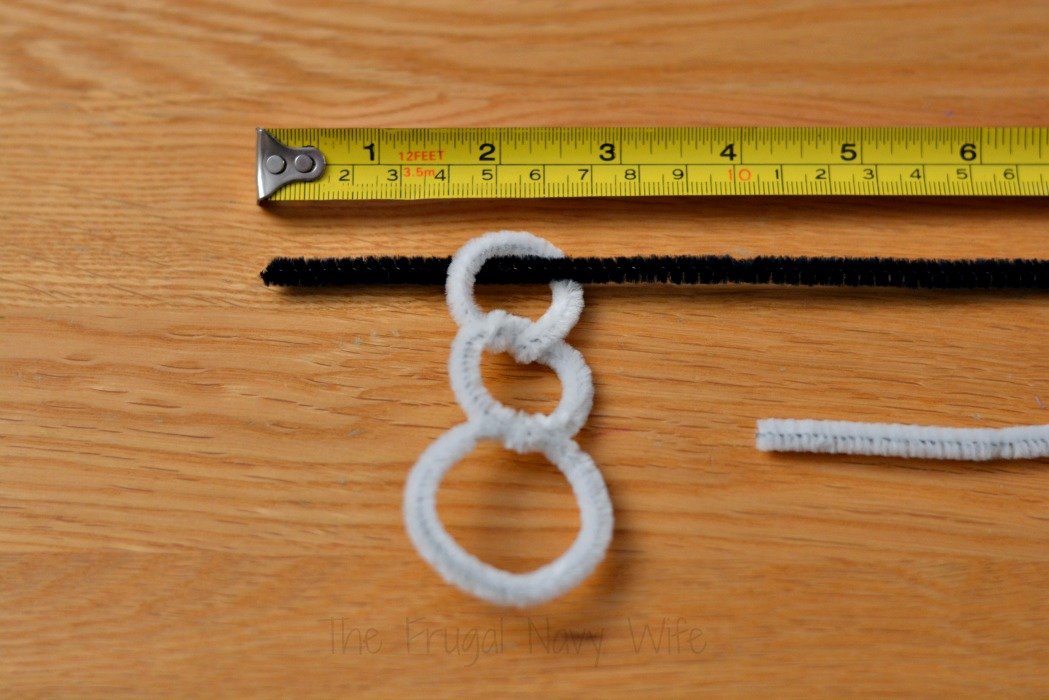
Ruler
Directions:
1-Cut three pieces of white chenille stems 3″ long, 4″ long and 5″ long.
How do you “inter twine?” You simply create a circle shape and then wrap the open ends around the existing circle and twist it.
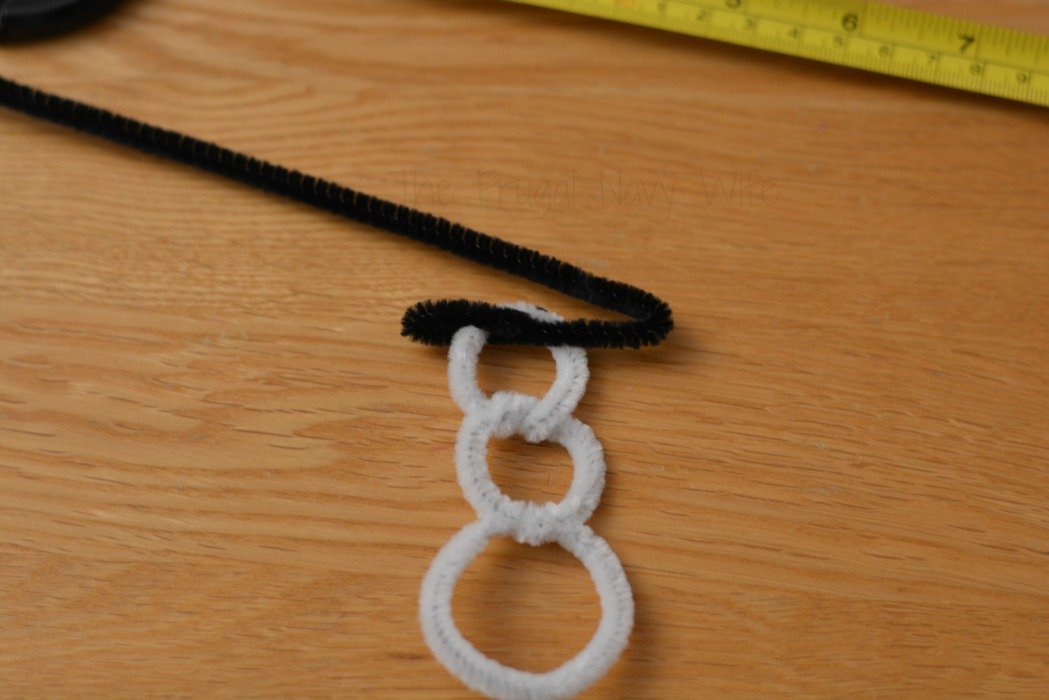
In the photo shown, you'll be leaving about 2″ of a black chenille stem to the left side of the head and fold the pipe cleaner about an inch away from the right side of the head. Fold the left side, into the white head. This is the hat brim.
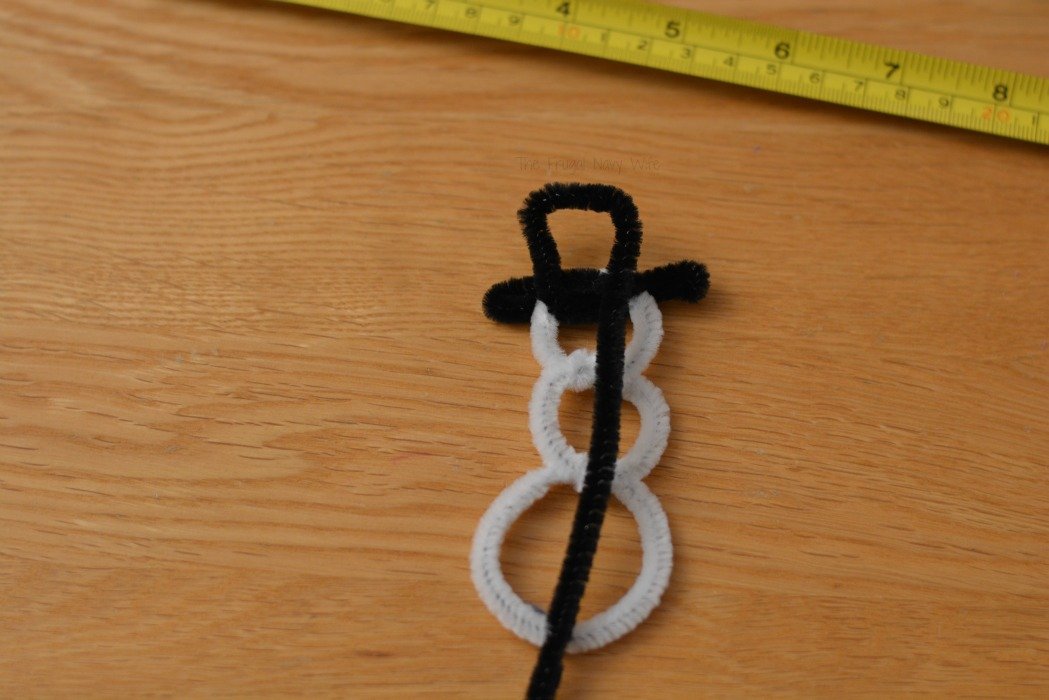
Using the long end of the black stem, fold it across to the left side and wrap it a few times around the white head to attach it to the head.
Carry that black stem to the top to create a rectangle. Wrap the rectangle around the top of the head a few times to hold it and to cover the white. Trim the end. Flatten snowman with your hands if necessary.
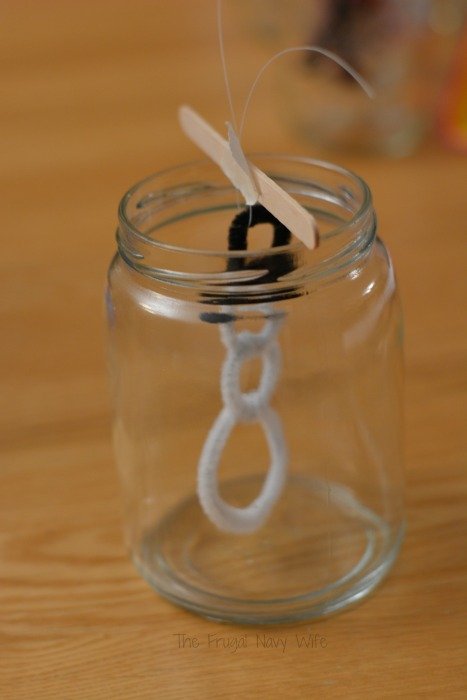
4-Tie some fishing line or a thin thread around the top of the hat. Attach a popsicle stick (or use a straw, spoon handle or pencil) to the thread with tape or tie it in place.
5-Place your snowman into the glass jar and make sure it fits and does not touch the sides or bottom and can be completely covered with liquid. Remove from jar.
6-Add 1/3 cup borax to 2 cups of boiling water. Stir completely to dissolve and pour into the jar. Careful — it‘s hot!
7-Place the snowman into the jar full of water. Set aside for about 24 hours.
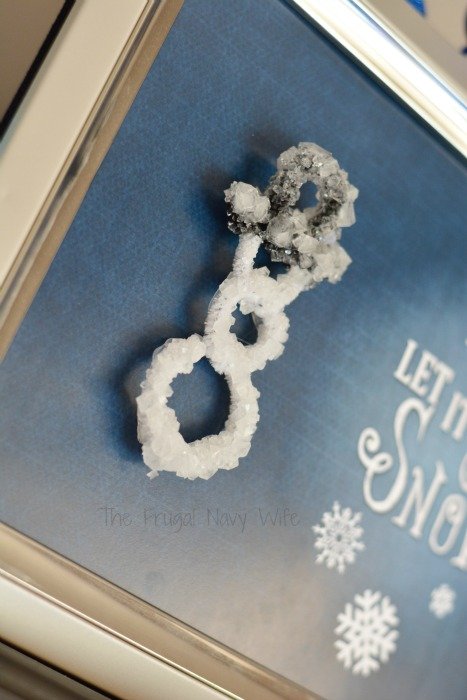
8-When the snowman is covered with crystals, remove from the jar and let dry. I usually place mine on a glass plate overnight to dry. Discard liquid.
9-Remove the string or thread that was holding the snowman to the stick. Trim if you are unable to remove the string because it grew into the crystals.
10-Place your Let It Snow pattern into the frame. Position it in front of the glass. Print your Pattern for FREE here.
11-Use hot glue to to affix the crystal snowman onto the left side of the paper printable.


Leave a Reply