Little House in the Big Woods is the story of Laura Ingalls Wilder’s life living on an 1800’s frontier with her homesteading family. This book tells about the adventures Laura and her family enjoy while living on the homestead and gives a glimpse of what their daily life was like through the eyes of young Laura.
This book is ideal for teaching kids not just more about the life of a homesteader, but what life was like for children living on the frontier in the late 1800’s! We love this series and put this Little House in the Big Woods Lesson Plan together to go with it.

Little House in the Big Woods Lesson Plan
We started by reading the book twice. Once we read as a readout loud just for them to hear at night. The second time we read it to study it.
As we read the book we used A Guide for Using Little House in the Big Woods in the Classroom (Literature Units) which goes chapter by chapter. With tests, activities, and questions from the book. We also used the Little House in the Big Woods Lapbook as we went along.
After we finished the books I wanted to take them on a virtual field trip of the area. A quick search landed us on this Laura Ingalls Virtual Field Trip that walks you through all the homesteads.
We then watched this video from Notgrass History on the log cabin and Pepin Wisconsin area.
After the tours, we moved on to doing some crafts.
I wish I knew how to quilt as that would have made a fun craft to do here. If you want to learn quilting or a quilting craft check out BluPrint for some great tutorials.
Here are 3 more activities perfect for accompanying Little House in the Big Woods by Laura Ingalls Wilder
Related: Lesson Plans for Farmer Boy By Laura Ingalls Wilder
Homemade Molasses Candy
One of the treats the Ingall’s children loved to enjoy was homemade molasses candy. Here is how you can make your own and enjoy this tasty treat just like they did!
Supplies needed:
Cookie sheet
Thick molasses syrup
Wax paper
Knife
Directions:
1. Place a piece of wax paper over your cookie sheet. Place the cookie sheet in the freezer for several hours until cold. The Ingall’s family made their molasses candy on sheets of ice and snow, so you will use your cold cookie sheet in place of those.
2. Remove the cookie sheet from the freezer. Slowly drizzle the molasses over the sheet. You can create different shapes and squiggles if you wish.
3. Allow the molasses to harden from the cold. If you wish, you can return it to the freezer for a few minutes to blast chill it.
4. Your molasses candy should peel off nicely. If not you can use the knife to gently peel the candy
from the wax paper.
Your molasses candy can now be enjoyed!

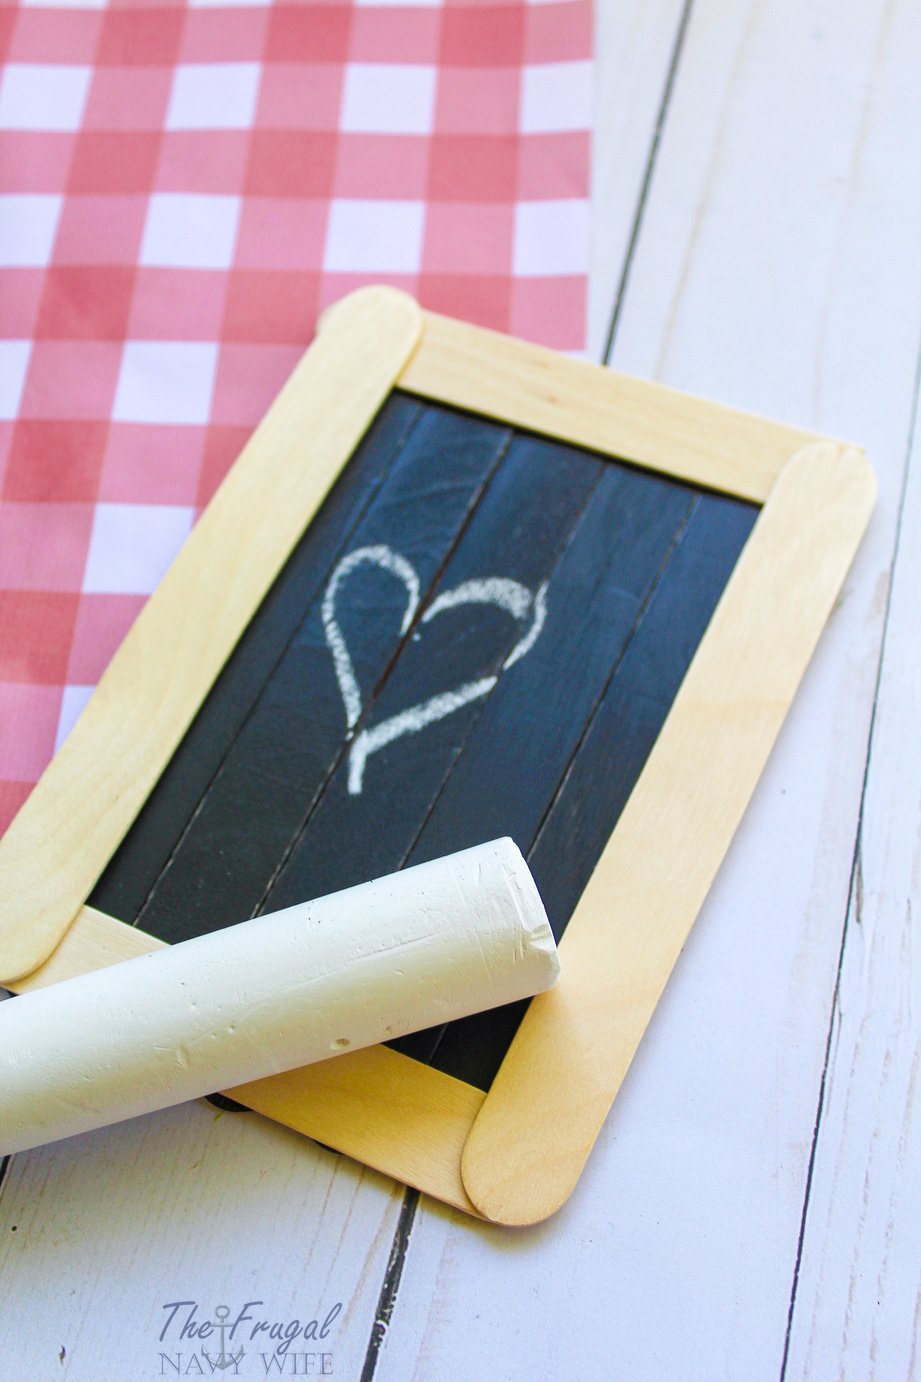
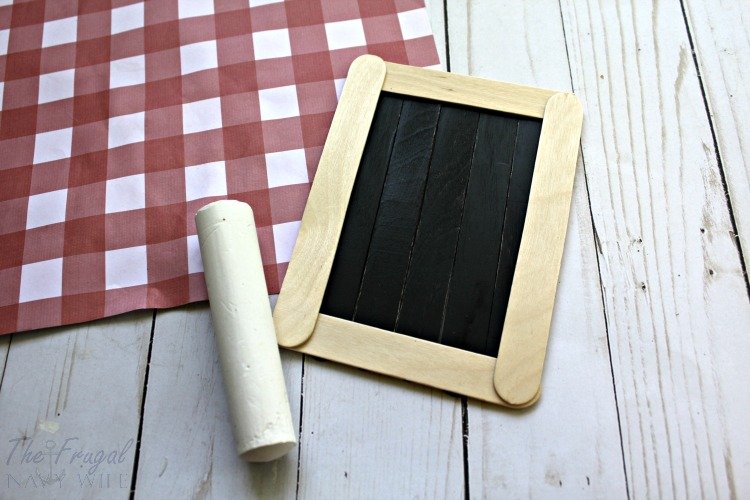
DIY School Slate
Supplies needed:
Chalk
Chalkboard paint
Hot glue, glue gun
Wide/large wood craft sticks
Children in the late 1800’s used small slates to complete their school work on. This was often the only kind of writing tablet they had, so it was something they had to take great care of. Here is how to make your own DIY school slate.
Directions:
1. Begin by lining up 4-5 wide wood craft sticks side by side. Apply a line of glue across the sticks.
2. Place a craft stick over the glue strip so it bonds the lined up sticks together and holds them together in place. (see photo)
3. Once the glue is dry, you can paint the front side of your craft sticks with chalkboard paint. Apply two coats of paint and allow to dry.
4. Your chalkboard can now be framed. Glue four additional craft sticks around the perimeter of the chalkboard. This will give it clean edges and make it look more like an old slate.
You can now use your chalk to write on your little school slate.
Related: Fun and Interactive Ancient Egypt History Unit Study for Kids
Homemade Rag Doll
Laura and her sisters enjoyed homemade dolls to play with. Here is how to make your own homemade rag doll just like they used.
Supplies needed:
Assorted fabric scraps
Yarn or string
Scissors
Directions:
1. Lay a large square of fabric flat on the table. Place some bunched up small fabric pieces inside the square.
2. Twist the fabric into a knot and tie with string so the bunched up fabric pieces create the head of the doll.
3. Take scissors and scallop the remaining fabric. This will give it the appearance of a dress.
4. Optional: You can always add eyes to your doll with some basic buttons stitched on, or even add hair by gluing on pieces of yarn or string to the head of the doll.
Your homemade rag doll is now ready to be enjoyed.
As you can see there are many ways to enjoy Little House in the Woods further through these hands-on activities. Give this Little House in the Big Woods Lesson Plan a try and see what life was like for Laura and her family in a way that is fun and interactive!
Featured in Homeschool Giveaway & FreebiesHomeschool Giveaway & Freebies Little House on the Praire Roundup.


Leave a Reply