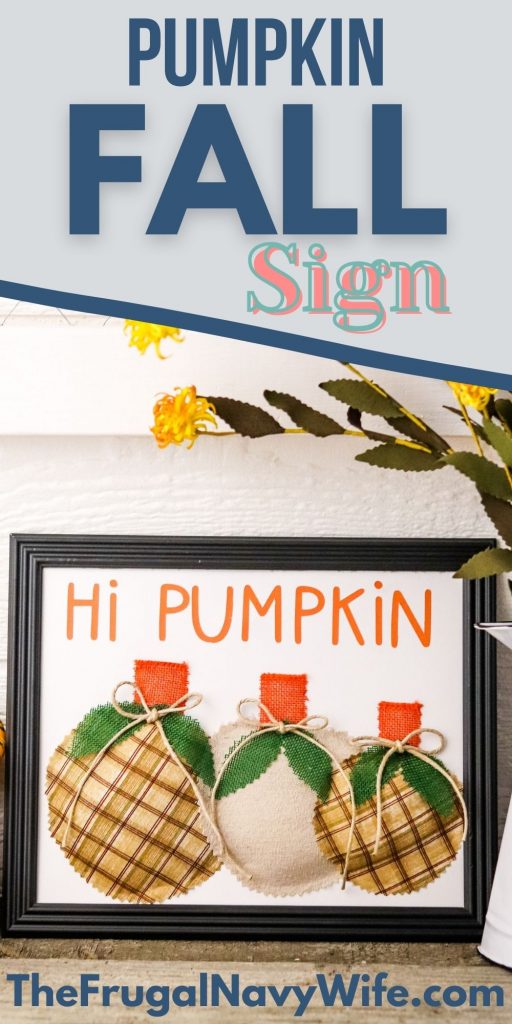
Fall is among us and this Pumpkin Fall Sign Cricut Craft is perfect for updating your home decor this season. In about under 45 minutes you could have this Cricut craft done and hanging on your wall!
Pumpkin Fall Sign Cricut Craft
Before you head out to gather your supplies for this Pumpkin Fall Sign Cricut Craft you should check your craft stash. A lot of time I have the majority of the materials needed for crafts laying around from previous crafts so my cost for new ones drops dramatically. If you find you are low on supplies check your local Dollar Tree first! Crafting doesn't need to be costly so Dollar Tree is my go-to store for cheap crafting materials.
Related: DIY Fall Decorations – Burlap Mason Jar Centerpieces
What you'll need to make Pumpkin Fall Sign Cricut Craft
8”x10” frame
Burlap Ribbon: Green and Orange
Dowels (optional if you'd like to create a wooden tree trunk, but not necessary)
2-3 different pieces of fabric
White cardstock paper: 8×10
White glue
Toothpick, popsicle stick
Related: Fall Slime Using Fall Leaves – No Borax!
How to make Pumpkin Fall Sign Cricut Craft
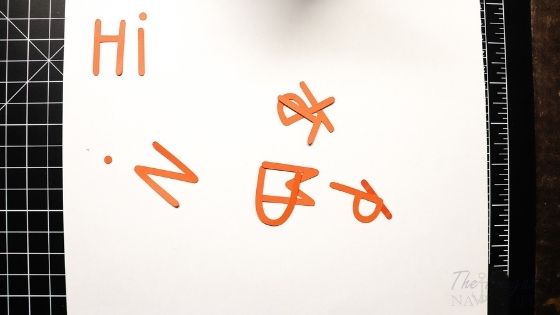
Upload your SVG into the Cricut program. Set on the paper setting. Place your orange cardstock onto your cutting mat and cut out the words Hi Pumpkin.
Open the frame and remove the glass. Insert white cardstock and put the frame back together without the glass.
Center Hi Pumpkin on the white cardstock in horizontal orientation. Do not glue into place yet.
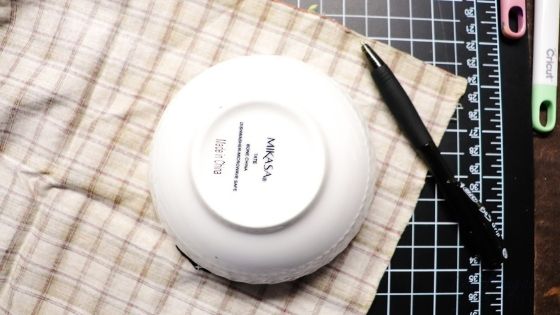
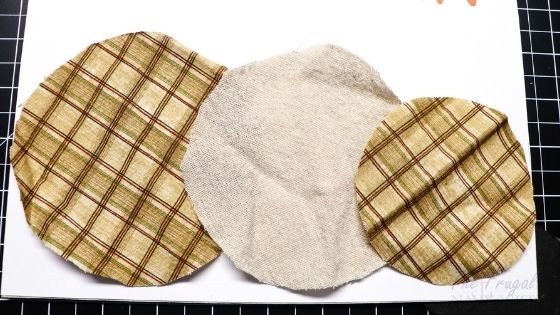
Use 3 different size bowls or cups to trace circles onto your fabrics. Cut out circles. Place the circles on the cardstock under the words Hi Pumpkin. Make sure the pumpkins overlap from largest to smallest. Keep in mind there will be stems to add as well. When you have everything lined up, spread a thin layer of white glue under the Hi Pumpkin letters (use a toothpick or popsicle stick).
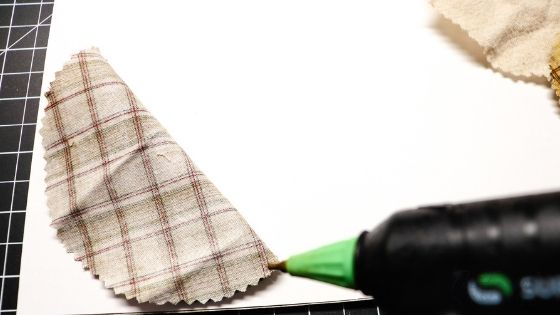
Hot glue the fabric circles to the cardstock, leaving a portion open at either the top or the bottom for stuffing (not on the sides, because the pumpkins will be overlapping).
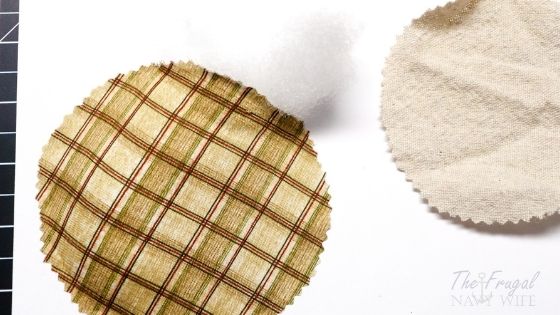
Carefully stuff the pumpkins and seal with hot glue. Use a popsicle stick to poke the stuffing into place.
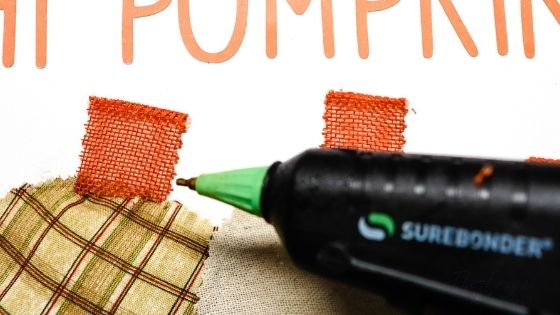
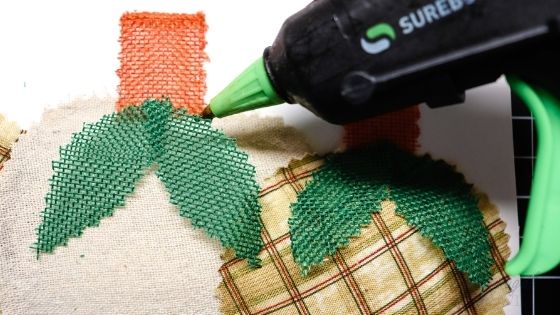
Cut out 3 rectangle pieces from the orange burlap ribbon for the stems. Hot glue into place.
Cut out 2 leaf shapes for each pumpkin with the green burlap ribbon. Hot glue into place.
Make a small twine bow and hot glue to the stem in between the leaves.
Hang or set on a table for the fall season.
Related: 5 Fun and Frugal Fall Date Night Ideas
Pumpkin Fall Sign Cricut Craft
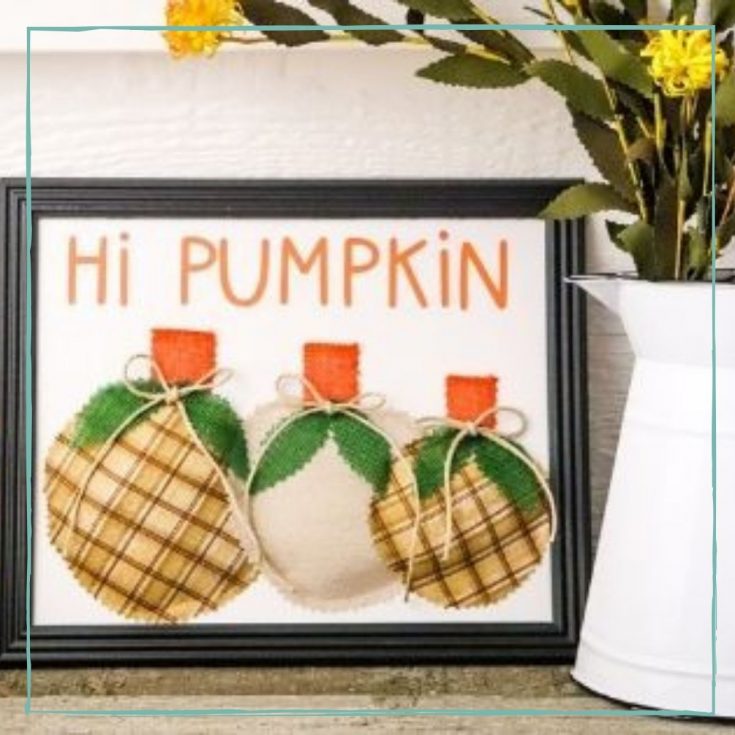
Fall is among us and this Fall Pumpkin Cricut Craft is perfect for updating your home decor this season. In about under 45 minutes you could have this Cricut craft done and hanging on your wall!
Materials
- 8”x10” frame
- Orange Cardstock
- Burlap Ribbon: Green and Orange: *green and orange fabric is an alternative
- Dowels (optional if you'd like to create a wooden tree trunk, but not necessary)
- 2-3 different pieces of fabric
- Twine
- Polyfil stuffing
- White cardstock paper: 8x10
- White glue
- Toothpick, popsicle stick.
Tools
- Cricut
- Hot Glue Gun
- Scissors
Instructions
- Upload your SVG into the Cricut program. Set on the paper setting. Place your orange cardstock onto your cutting mat and cut out the words Hi Pumpkin.
- Open the frame and remove the glass. Insert white cardstock and put the frame back together without the glass.
- Center Hi Pumpkin on the white cardstock in horizontal orientation. Do not glue into place yet.
- Use 3 different size bowls or cups to trace circles onto your fabrics. Cut out circles. Place the circles on the cardstock under the words Hi Pumpkin.
- Make sure the pumpkins overlap from largest to smallest.
Keep in mind there will be stems to add as well. When you have everything lined up, spread a thin layer of white glue under the Hi Pumpkin letters (use a toothpick or popsicle stick). - Hot glue the fabric circles to the cardstock, leaving a portion open at either the top or the bottom for stuffing (not on the sides, because the pumpkins will be overlapping).
- Carefully stuff the pumpkins and seal with hot glue. Use a popsicle stick to poke the stuffing into place.
- Cut out 3 rectangle pieces from the orange burlap ribbon for the stems. Hot glue into place.
- Cut out 2 leaf shapes for each pumpkin with the green burlap ribbon. Hot glue into place.
- Make a small twine bow and hot glue to the stem in between the leaves.
- Hang or set on a table for the fall season.
Recommended Products
As an Amazon Associate and member of other affiliate programs, I earn from qualifying purchases.



Leave a Reply