Get in the Halloween spirit with this fun and simple Skeleton Paper Plate Lacing Craft. Once you create your skeletons, you hang them around the home in anticipation of a spooky and exciting night with the family.
Skeleton Paper Plate Lacing Craft
Is Halloween the one time of year that you like to get crazy with decorations? You may get excited about setting up decorations to make your home look spooky and exciting for the children who will knock at the door while trick-or-treating. If you love everything about Halloween and look forward to this time of year, you need to try this Skeleton Paper Plate Lacing Craft. The craft is simple yet fun. It’s a great activity to do with your children. Get the kids to lend a hand with putting together the perfect skeletons to hang everywhere around the home!
Related: Halloween Unit Study – Halloween Activities for Kids
Does the size of the paper plate matter?
The paper plate size isn’t too important, but it’s best to use a standard paper plate. Make sure you’re using a paper plate and not a foam plate!
How to Weave the Yarn with Ease
When you’re completing the Skeleton Paper Plate Lacing Craft, it’s easy to get frustrated with the yarn as you attempt to weave it through the holes. Luckily, there’s a simple trick to weave the yarn with ease. Put a bit of tape at the end of the yarn. It solves any problems you might’ve had with weaving it through the holes that you’ve punched.
How long does it take to complete this craft?
The Skeleton Paper Plate Lacing Craft isn’t a craft that takes hours to complete. Although the time it takes depends on how quickly you work with the materials, you can expect to spend at least 30 minutes putting your skeleton together. It can take longer when you’re letting the little ones help, but that’s what makes the experience even better.
Can I add color to the skeletons?
While the traditional skeletons will look white because of the paper plates, you can paint them different colors for fun if you’d like. Some people like to paint the skeletons black, green, or even orange to go with the Halloween theme. It’s an extra step you can take if you’d like to make each skeleton look different.
Related: Burlap BOO Halloween Wreath
Where to Place the Skeleton After Completing the Craft
Once you’ve completed the Skeleton Paper Plate Lacing Craft with your children, you’ll have several cool skeletons to hang around the home. If you’re unsure where to put them, consider placing these skeletons in noticeable spots. You can hang one on the front door, one on the back door, and two on the front windows of your home. Put them anywhere that you think they’d look good.
The Supplies Needed to Get Started on the Craft

Black Marker or Googly Eyes
Related: Over 700 Free Pumpkin Carving Stencils From Disney to Kate Middleton
How to make the Skeleton Paper Plate Lacing Craft
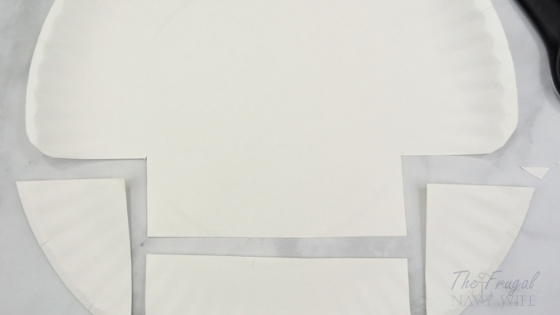
First, make the plate look like a skeleton shape by cutting two notches off the sides as shown. Then make the lower jaw by cutting across the bottom. Save all the pieces.

Take the black marker and color two big oval eyes. Use one of the side pieces that was cut off in step one to create a triangle nose.

Using the hole punch, make holes along the bottom of the skeleton's head and the top of the jaw piece.
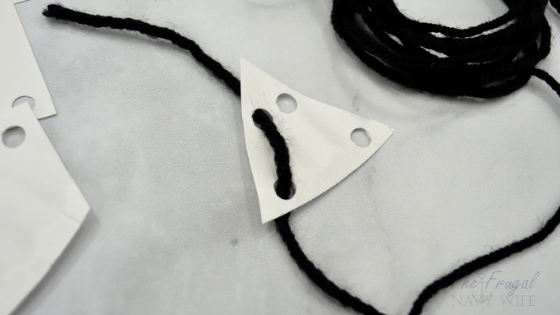
Also punch 4 holes, two on the top and two at the bottom, of the nose piece.
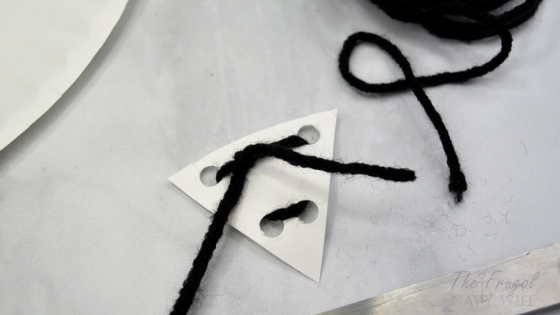
Weave the black yarn through the nose piece to create two nostrils.
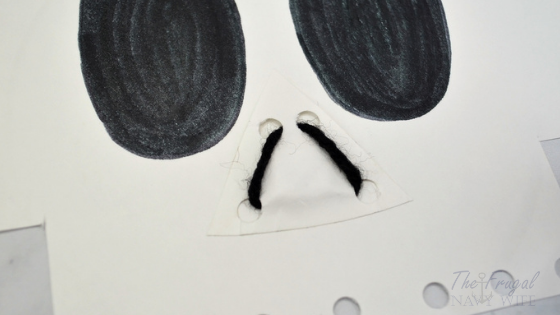
Tie the two loose strands together on the back. Glue the nose in place.
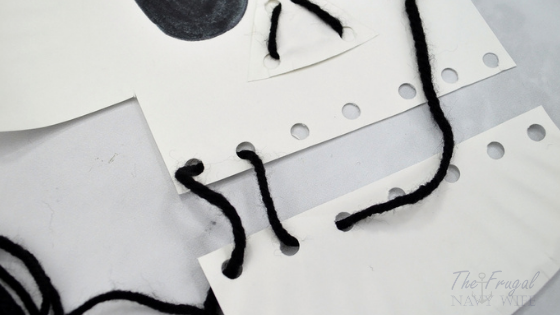
Next, weave the yarn through the jaw holes, going from top to bottom to create the skeleton's scary smile. To make it easier to weave, put some tape at the end of the yarn.
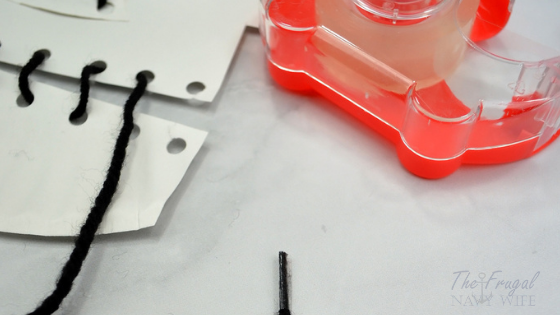
Secure the ends by knotting them to a neighboring stitch.
The scary skeleton is ready to spook!
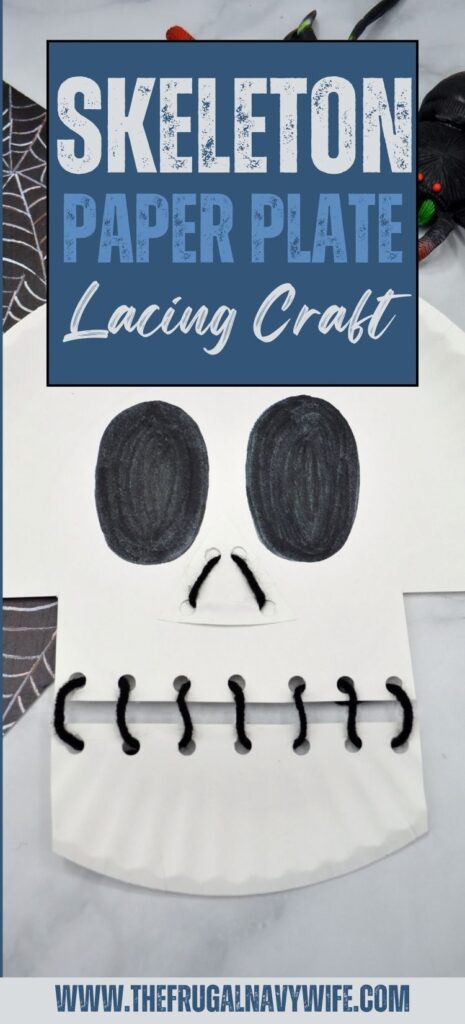
Skeleton Paper Plate Lacing Craft
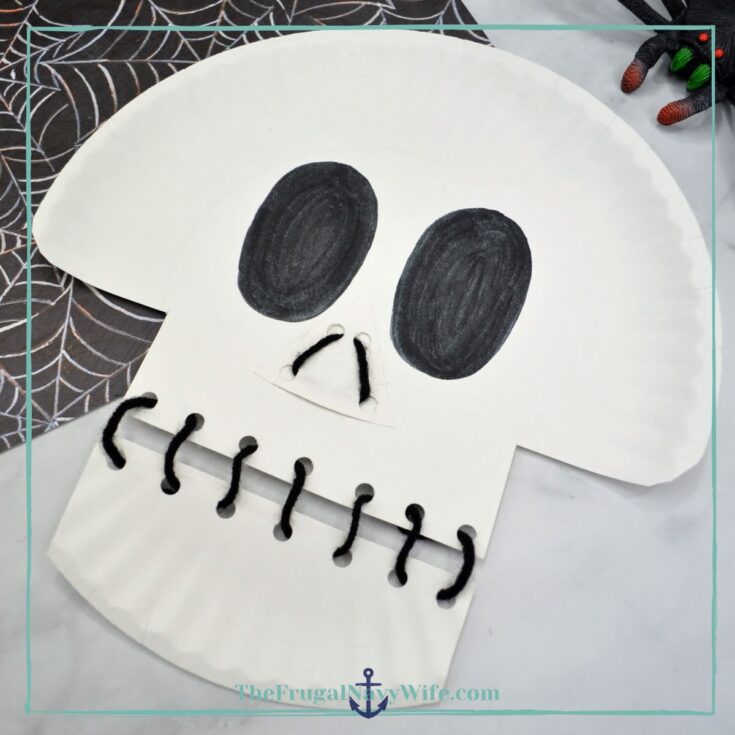
Get the kids involved this Halloween by helping you make this Skeleton Paper Plate Lacing Craft. It’s simple and fun!
Materials
- Paper Plates
- Black Marker
- Googley Eyes
- Black Yarn
- Glue
Tools
- Hole Punch
- Scissors
Instructions
- First make the plate look like a skeleton shape by cutting two notches off the sides as shown. Then make the lower jaw by cutting across the bottom. Save all the pieces.
- Take the black marker and color two big oval eyes. Use one of the side pieces that was cut off in step one to create a triangle nose.
- Using the hole punch, make holes along the bottom of the skeleton's head and the top of the jaw piece. Also punch 4 holes, two on the top and two at the bottom, of the nose piece.
- Weave the black yarn through the nose piece to create two nostrils. Tie the two loose strands together on the back. Glue the nose in place.
- Next, weave the yarn through the jaw holes, going from top to bottom to create the skeleton's scary smile. To make it easier to weave, put some tape at the end of the yarn.
- Secure the ends by knotting them to a neighboring stitch.
- The scary skeleton is ready to spook!
Recommended Products
As an Amazon Associate and member of other affiliate programs, I earn from qualifying purchases.
Halloween is a great time to get crafty with your kids! We hope you and your little ones enjoyed making this skeleton paper plate lacing craft. What other spooky crafts have you done together in the past? Share them with us in the comments below.


Leave a Reply