As the temperature starts to drop, it's important to start thinking about how you're going to keep your or your little ones warm. One way to do this is by using upcycle sweater mittens. Not only will they keep your child's hands warm, but they'll also be stylish too! Best of all, they're easy and cheap to make. Keep reading for instructions on how to make your own! We also have some of the best-upcycled crafts ideas to check out!
What are other upcycled sweaters ideas?
There are lots of fun and easy ways to upcycle sweaters into new and stylish pieces for your wardrobe. Here are a few! You could turn an old sweater into a cozy scarf or cowl. They could be used as boot socks, leg warmers, or arm warmers. Or you could make a hat, beanie, or headband out of an old sweater. There are so many options!
Related: DIY Tshirt Bag
What upcycle crafts could you make?
There are a lot of great upcycle crafts that you can make, depending on your interests and creativity. For example, you could upcycle old clothes into new clothing items, repurpose furniture, or create fun and decorative items for your house from recycled materials. The options are really endless, so it all comes down to what you're most interested in and what you think will be the most fun for you. Just be sure to use your imagination and have some fun with it!
Different ways you can upcycle.
There are so many different ways to upcycle, it's hard to know where to start! Here are some great ideas. You could turn old jars into beautiful containers for flowers or plants. All you need is some paint and a little creativity! Another way is to use scrap wood to make new furniture or home accessories. If you're handy with a saw, you can create some amazing pieces of furniture from pieces of scrap lumber that would have otherwise been thrown away. And last but certainly not all is to reuse glass bottles and jars as vases.
What You Need to make Sweater Mittens

Old Sweater
Directions for Sweater Mittens
Turn the sweater inside out. I like using the sleeves for kids’ mittens. This leaves the main body of the sweater for adult mittens. Cut the sleeves off, and make sure to leave them long enough to make the mitten. Measure and trace the hand the mitten will go on.

Leave ½ – ¾ inch space around the hand when tracing. This extra allows for a seam and a little space in the hand area. I have found that using the existing sleeve seam saves a bit of sewing. Cut out your shape. If needed pin fabric together to secure pieces for sewing. Sew around the outside of the mitten, and be sure to leave the wrist open.

Your mitten should still be inside out for sewing. Trim the excess fabric from the seam area and turn your mitten right side in. You now have warm cozy mittens.
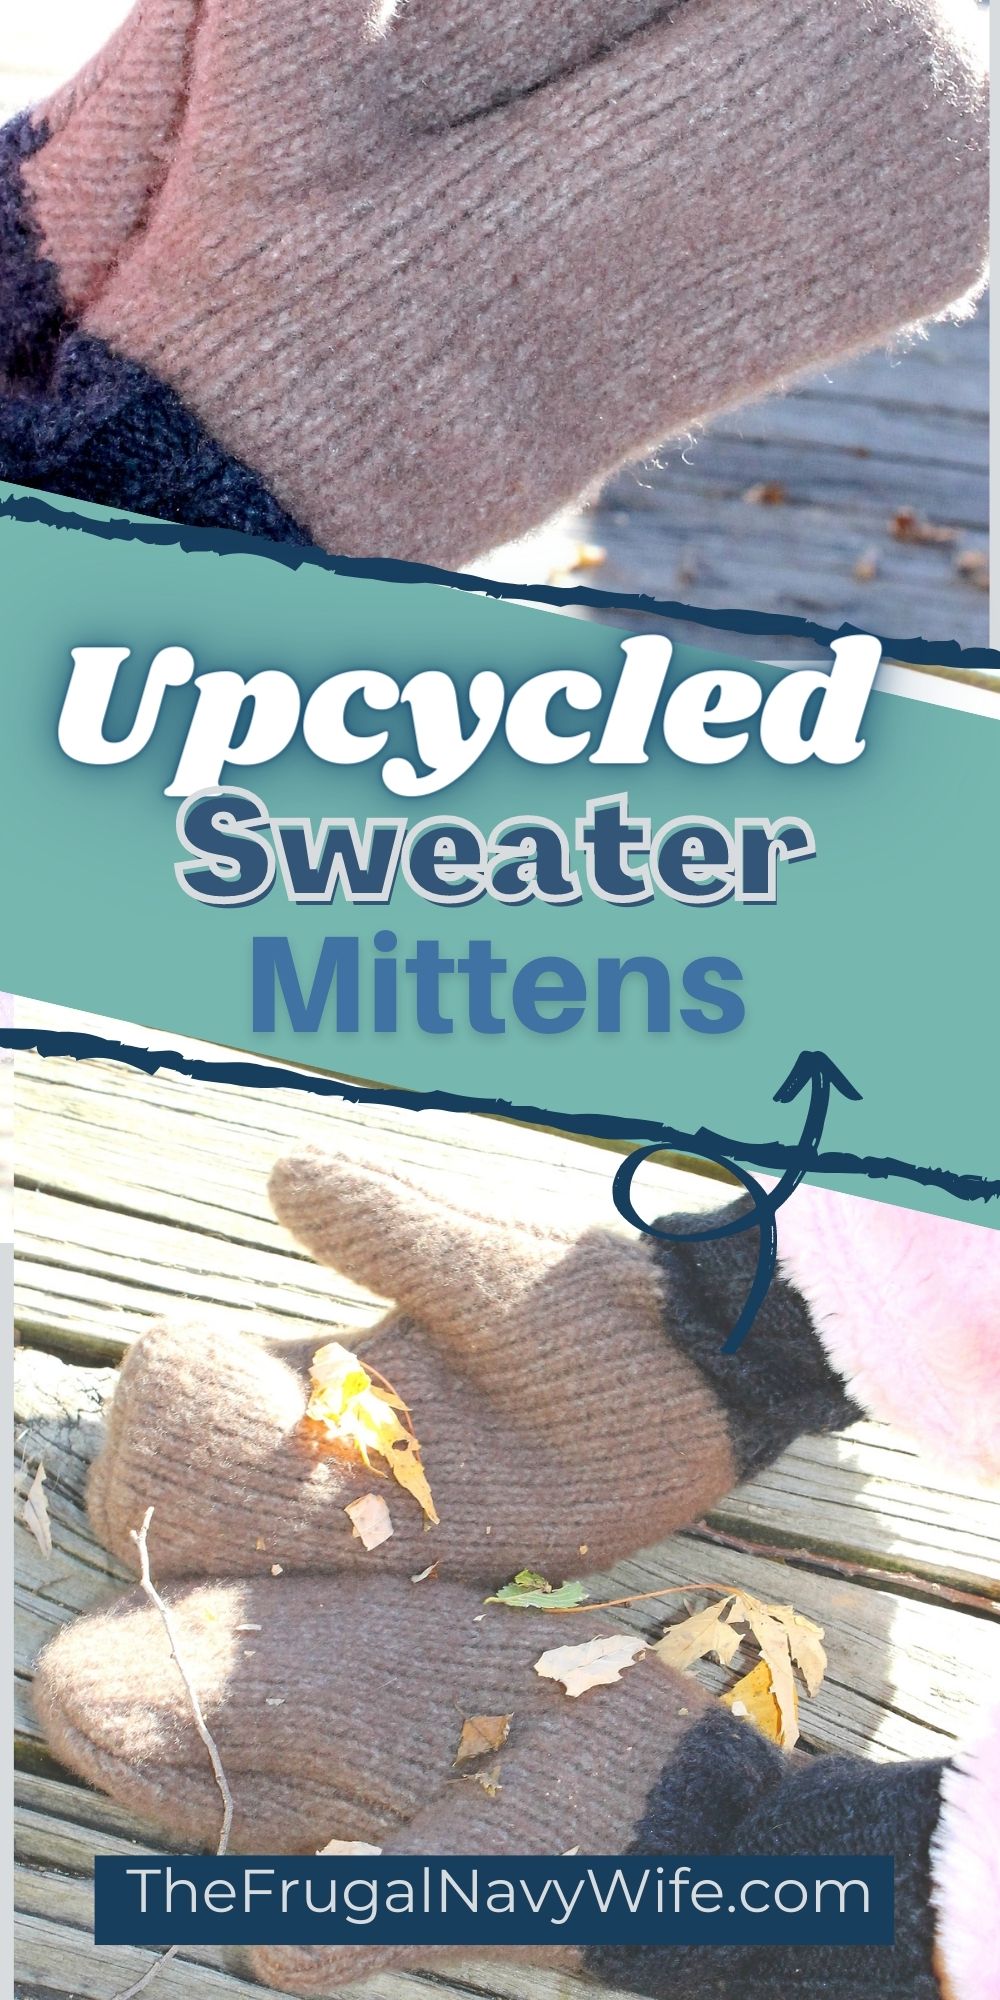
Upcycle Sweater Mittens
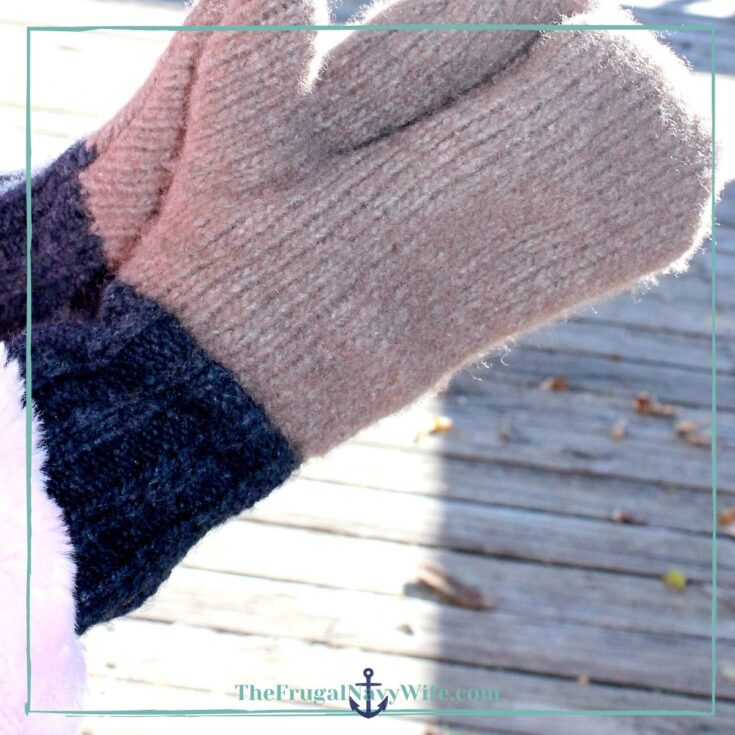
These stylish and cozy upcycle sweater mittens are made from 100% recycled materials, so you can get the most out of your sweater.
Materials
- Old Sweater (Wool, Cotton, Acrylic all work well)
Tools
- Scissors
- Sewing Machine
Instructions
- Turn the sweater inside out. I like using the sleeves for kids’ mittens. This leaves the main body of the sweater for adult mittens. Cut the sleeves off, make sure to leave them long enough to make the mitten. Measure and trace the hand the mitten will go on.
- Leave ½ - ¾ inch space around the hand when tracing. This extra allows for a seam and a little space in the hand area. I have found that using the existing sleeve seam saves a bit of sewing. Cut out your shape. If needed pin fabric together to secure pieces for sewing. Sew around the outside of the mitten, be sure to leave the wrist open.
- Your mitten should still be inside out for sewing. Trim the excess fabric from the seam area and turn your mitten right side in. You now have warm cozy mittens.
Recommended Products
As an Amazon Associate and member of other affiliate programs, I earn from qualifying purchases.


Have you ever upcycled before? It's so much fun and really easy to do! If not, I hope you'll give it a try. These upcycled sweater mittens are a great idea for turning old sweaters into something new and useful. Thanks for reading, and happy crafting!