This year we are going more frugal with our Valentine's Day Decorations. Using items we have had on hand for years, finally! It's starting to pay off to keep all this around in totes! We decided to make Valentine's Day Ribbon Tree and they turned out amazing!

We pulled out all of our old craft supplies and found we had the majority of the materials already on hand. You might as well if your kids are crafty all the time. If not, that's fine. I have provided the supply list for you and it is relatively low cost. The kids will have a blast making this Valentine's Day Decoration for the house and will be making memories to last a lifetime.
Related: 25 Easy DIY Valentine’s Day Cards
Valentine's Day Ribbon Tree
Getting to it- Here is what you will need to make this Valentine's Day Ribbon Tree. This is what we used. Feel free to let your creativity flow and make one that fits your style and home decor.
Supplies:
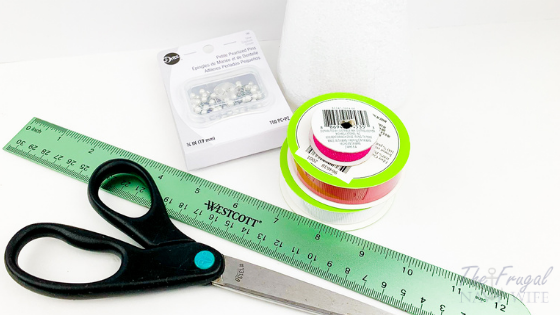
Styrofoam cone (the one used in this craft is about 10 in. tall)
Red ribbon (5/8in. X 15ft.)
White ribbon (⅝ in. X 15ft.)
Pink ribbon (⅜ in. X 5ft.) (optional)
Petite pearlized pins (¾ in.)
Related: 60 Valentine’s Day Books for Kids
Directions:

(Note: Use caution if you have kids completing this activity since sharp pins are used. Adult supervision encouraged.)
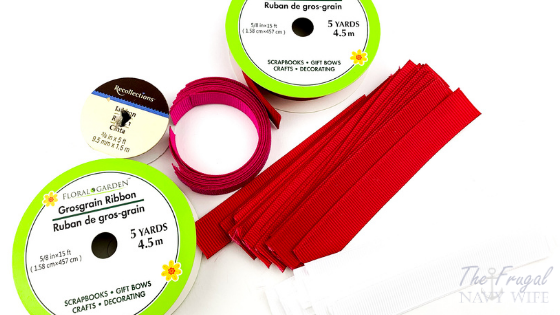
Cut the red, white, and pink ribbon into 4 inch strips.

Start with the red ribbon first. Bring the ends of the ribbon together to create a loop. Place a pin towards the top part where the ends meet. Pin the ribbon onto the styrofoam about one inch above the bottom of the tree.
Complete this step all the way around the bottom of the cone.
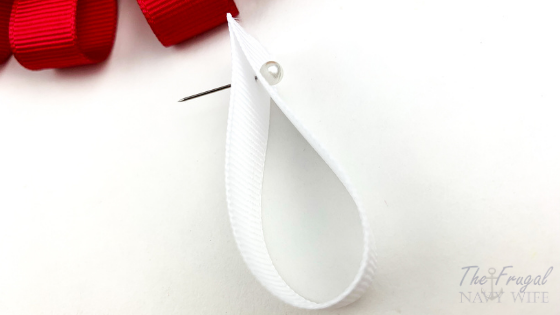
Repeat this step with the white ribbon and go all the way around the cone.

Tip: Place the ribbon directly above the ribbon below it to cover the pin top slightly.

Continue this until you cover the whole tree with ribbon. Alternating colors, red, white, pink.

Once you get to the top, pin the heart buttons on.
Display this Valentine's Day Ribbon Tree in your home or classroom!
Valentine's Day Ribbon Tree

Simple and fun Valentine's Day Decoration DIY. Perfect to use up old supplies you may have laying around!
Materials
- Styrofoam cone
- Red ribbon (5/8in. X 15ft.)
- White ribbon (⅝ in. X 15ft.)
- Pink ribbon (⅜ in. X 5ft.) (optional)
- Petite pearlized pins (¾ in.)
- Heart buttons
- Ruler
Tools
- Scissors
Instructions
- Cut the red, white, and pink ribbon into 4 inch. strips.
- Start with the red ribbon first. Bring the ends of the ribbon together to create a loop. Place a pin towards the top part where the ends meet. Pin the ribbon onto the styrofoam about one inch above the bottom of the tree.
- Complete this step all the way around the bottom of the cone.
- Repeat this step with the white ribbon and go all the way around the cone.
- Tip: Place the ribbon directly above the ribbon below it to cover the pin top slightly.
- Continue this until you cover the whole tree with ribbon. Once you get to the top, pin the heart buttons on.
Recommended Products
As an Amazon Associate and member of other affiliate programs, I earn from qualifying purchases.


Leave a Reply