Canning hot pepper plum jelly is a delicious and versatile way to preserve the flavors of summer all year round. This unique blend of spicy peppers and sweet plums creates a perfect balance of savory and sweet that is sure to please any palate. Whether you enjoy it as a spread on toast or as a glaze for meat dishes, this homemade jelly is a must-try for any foodie looking to add a little bit of heat to their pantry. In this guide, we'll show you how to make your own batch of canning hot pepper plum jelly step-by-step, so you can enjoy this tasty condiment at your leisure. While you're here, check out our other delicious canning recipes!
Can I adjust the level of spiciness in the jelly?
Yes, you can adjust the level of spiciness to your liking by adding more or fewer peppers. You can also remove the seeds and membranes from the peppers to reduce the heat.
Related: Canning 101 – How to Start Canning and Save Money
How long does the canned jelly last?
Properly canned hot pepper plum jelly can last up to two years in a cool, dry place. Once opened, it should be refrigerated and consumed within a few weeks.
Can I use other fruits instead of plums?
Yes, you can substitute other summer fruits like peaches, apricots, or nectarines for the plums. However, keep in mind that this may affect the final flavor of the jelly.
Utensils needed for Canning Hot Pepper Plum Jelly
Canning Jars – These canning jars come in a variety of sizes, so you can choose the perfect option for your needs. And since they're made from high-quality glass, they're durable and will last for years. Plus, they're easy to clean and can be reused over and over again.
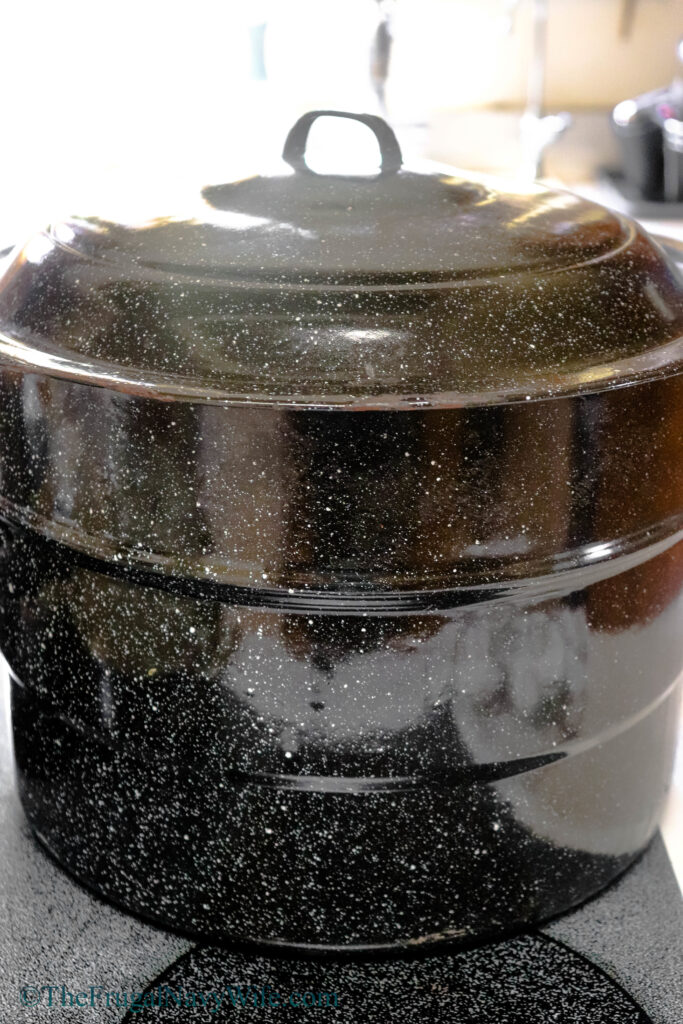
Water Canner – Do you want to start stocking up on pantry staples and preserve your favorite foods? Look no further than the water canner! This innovative device makes water bath canning quick, easy, and oh-so-satisfying.
Saucepan – Whether you're melting chocolate, cheese, or even ice cream, saucepans are the perfect tool for the job. Made from high-quality materials, saucepans heat evenly and thoroughly, so you can get perfect results every time.
Measuring Cups and Spoons – Looking for an easier way to measure ingredients? These measuring cups and spoons are a must-have in any kitchen. They make it quick and easy to get the perfect measurements.
Related: Huckleberry Freezer Jam Recipe
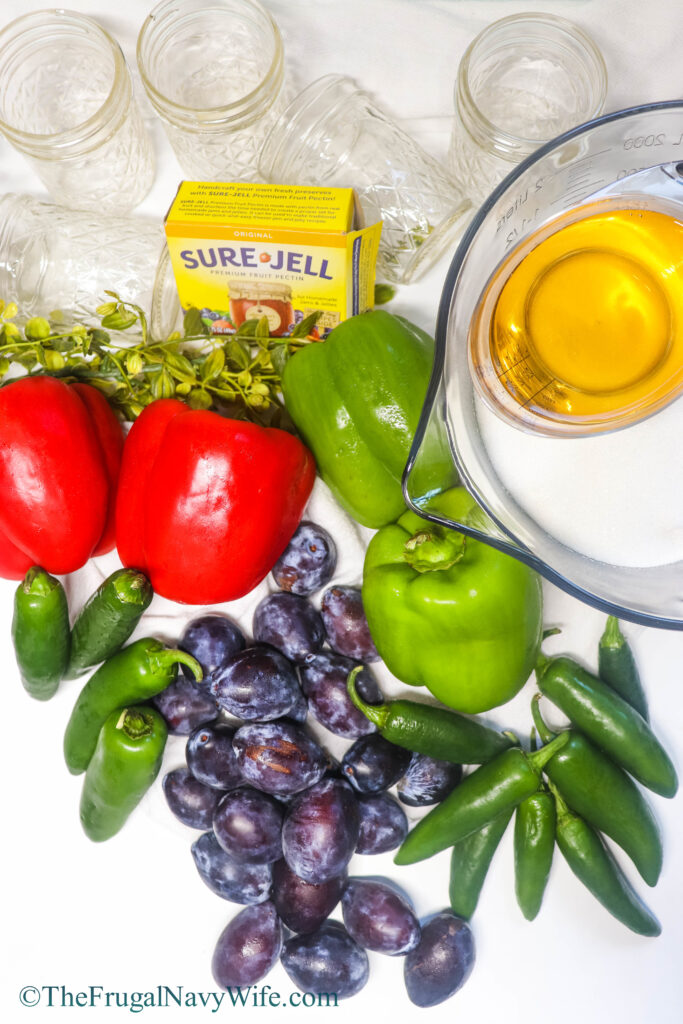
Ingredients for Hot Pepper Plum Jelly
Green Bell Peppers
Red Bell Peppers
Jalapeno Peppers
Fresh Plums
Related: Bite Sized Breakfast Recipes
Directions for Canning Hot Pepper Plum Jelly
Gather supplies.
Fill your canner with water and turn it on high as it takes a while to boil.
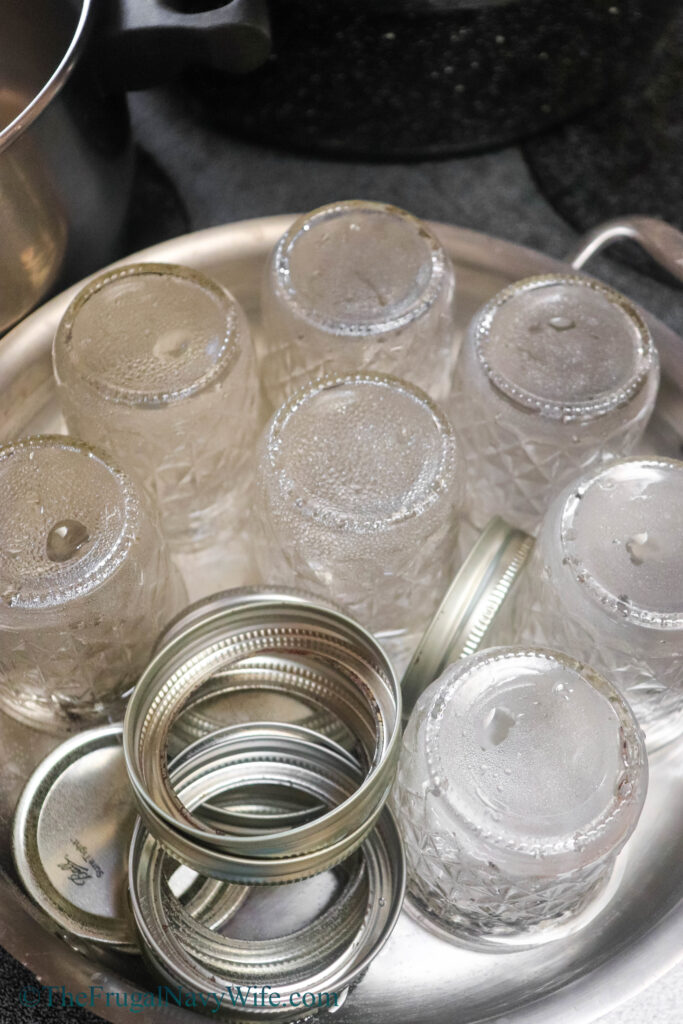
Prepare your canning jars by washing them in hot soapy water. Use brand-new lids, rings can be
reused if they are not rusty and in good working condition. Fill a large saucepan 3⁄4 full of water and
place on the stovetop. You'll place your clean canning jars upside down in the water, along with rings
and lids. You may only be able to do 4-6 at a time. *Watch the water can suck up inside the jars and
you may need to refill the saucepan as you go. You want to keep your jars hot during this process.
Related: How to make Maple Extract
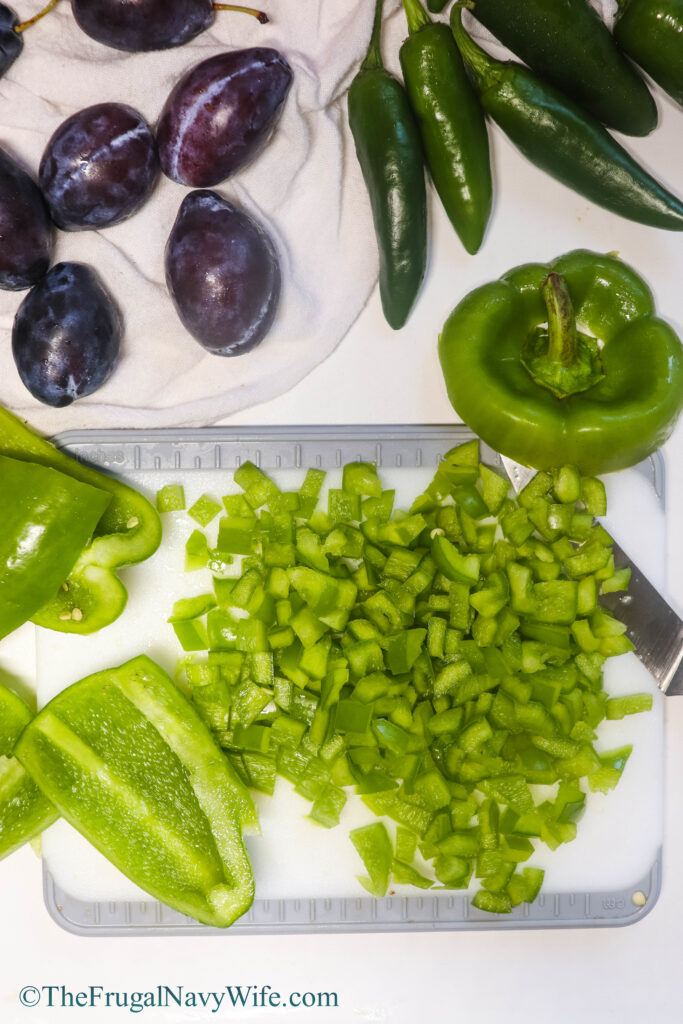
Chop peppers, discard stems and seeds, and set aside.
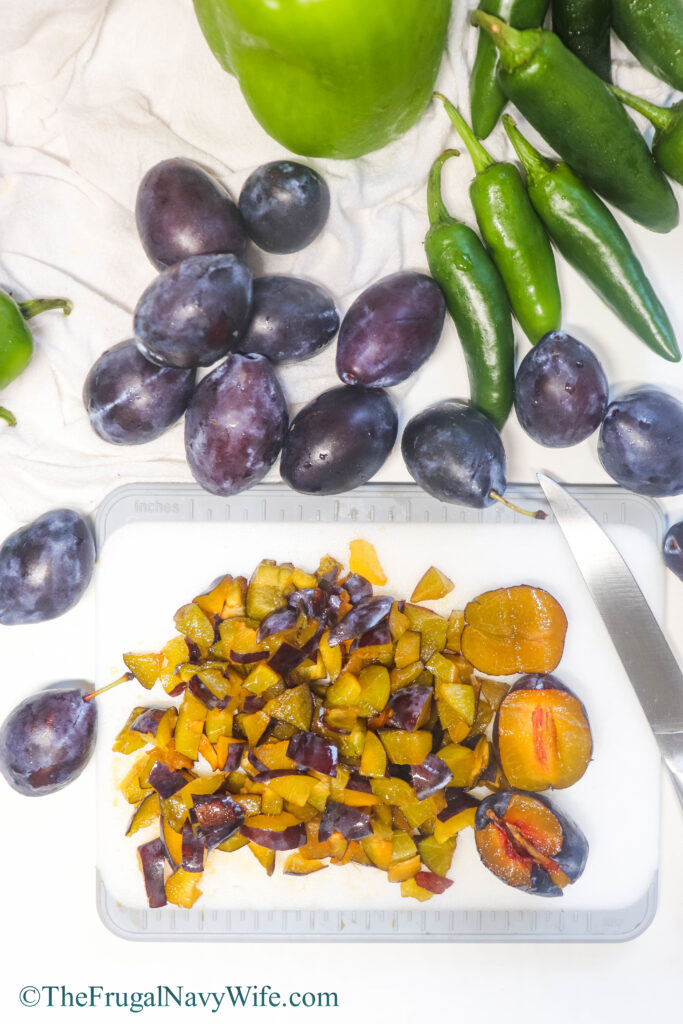
Chop plums, no need to peel! Discard pit.
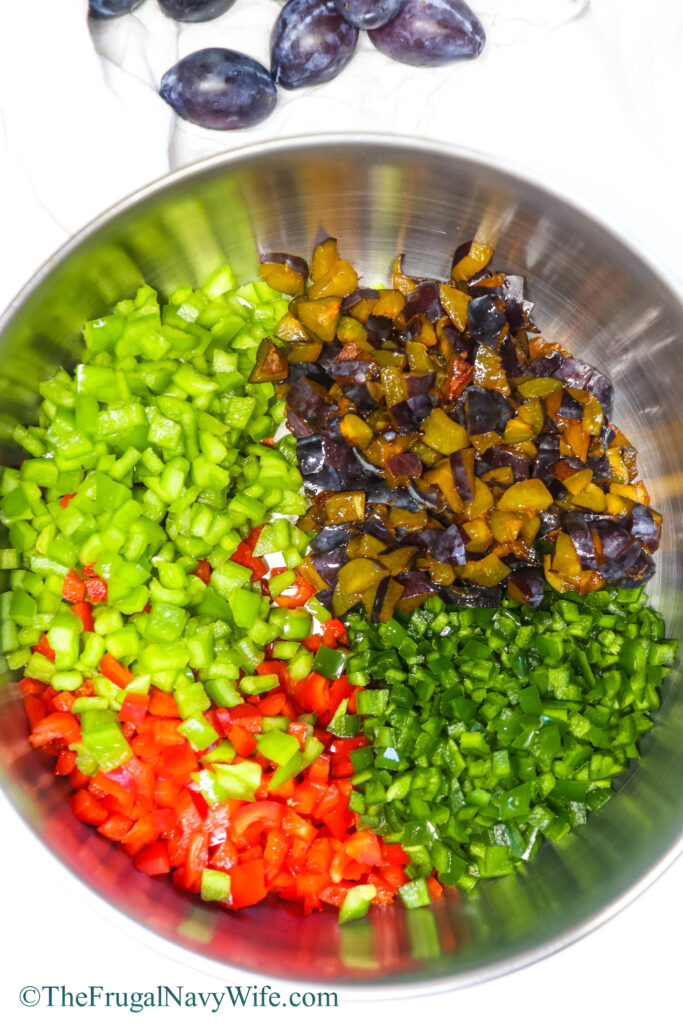
Place peppers and plums in a large cooking pot over high heat.
Related: Frugal Recipe – Easy Strawberry Freezer Jam
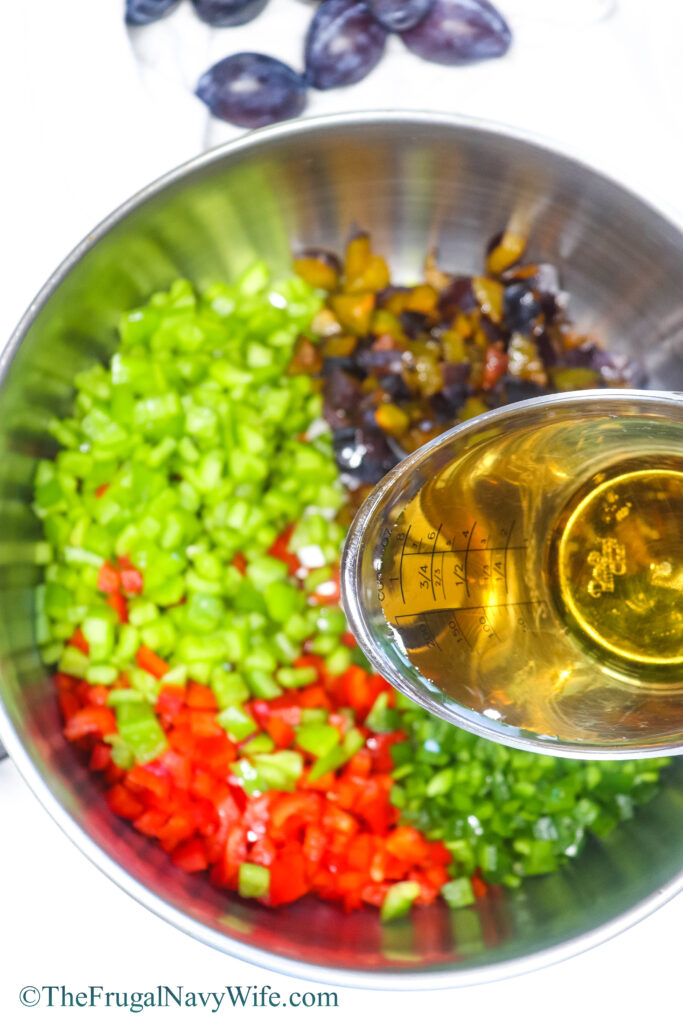
Add vinegar, and stir.
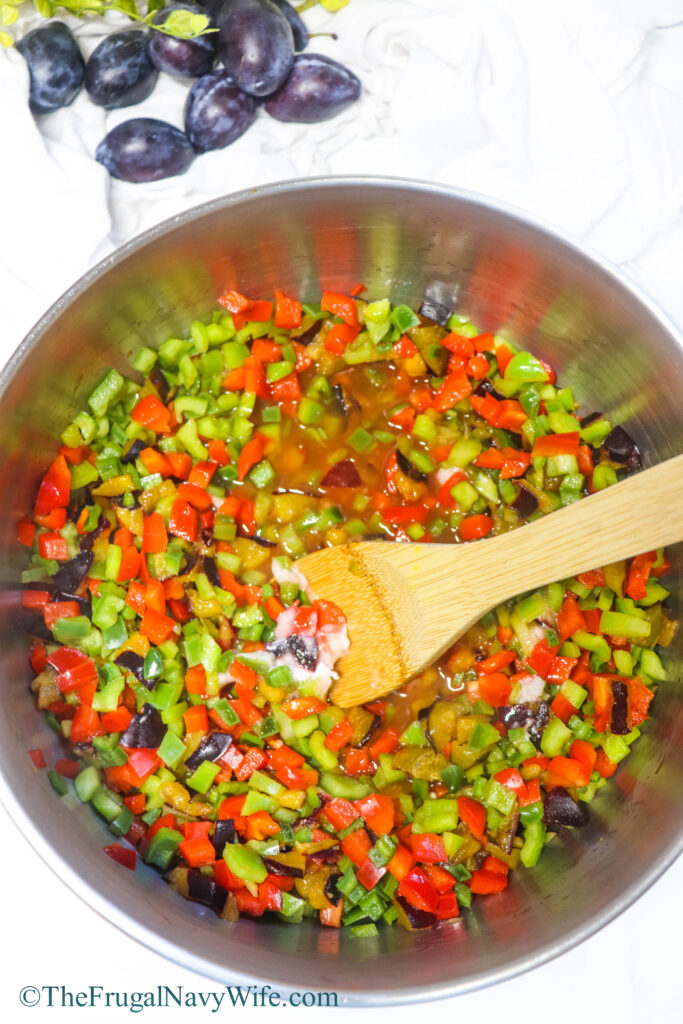
Add Sure Jell, and stir.
Bring ingredients to a rolling boil, stir constantly.
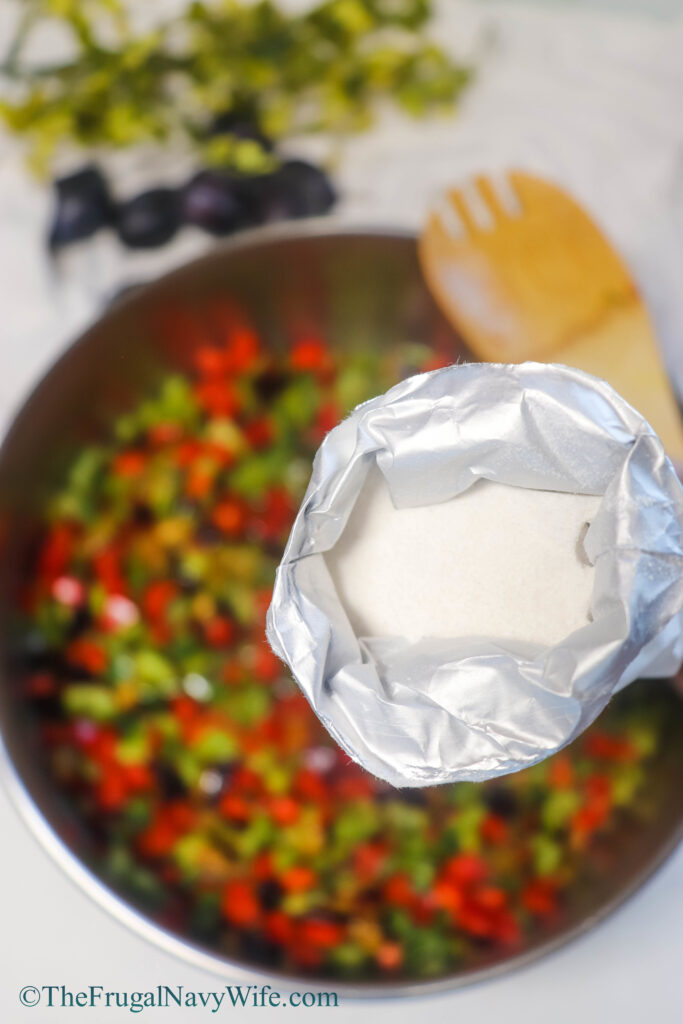
Add sugar, bring to a rolling boil, and stir constantly for 1 minute.
Related: The Best Instant Pot Blueberry Jam Recipe EVER!
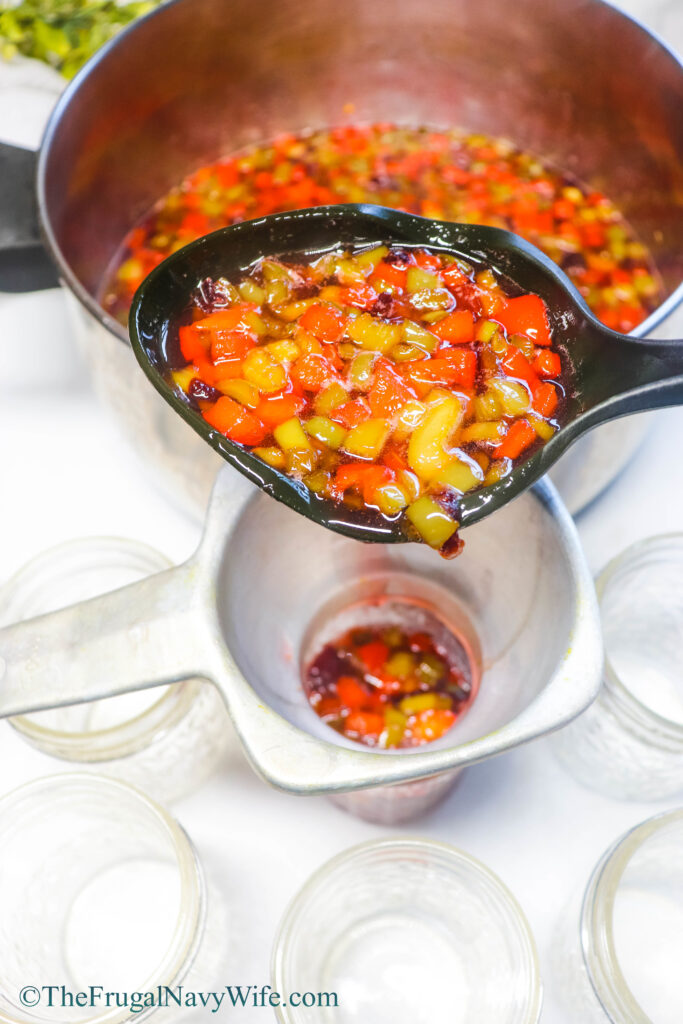
Quickly ladle jelly into sterile jars, to 1/4” from top.
Wipe the rim and jar threads with a paper towel to make sure there isn't any liquid or particles that
would prevent a proper seal. Wipe the lids and bands so they are dry.
Place the lid and band on the jar and tighten. Not too tight. You'll be removing the bands in 24 hours.
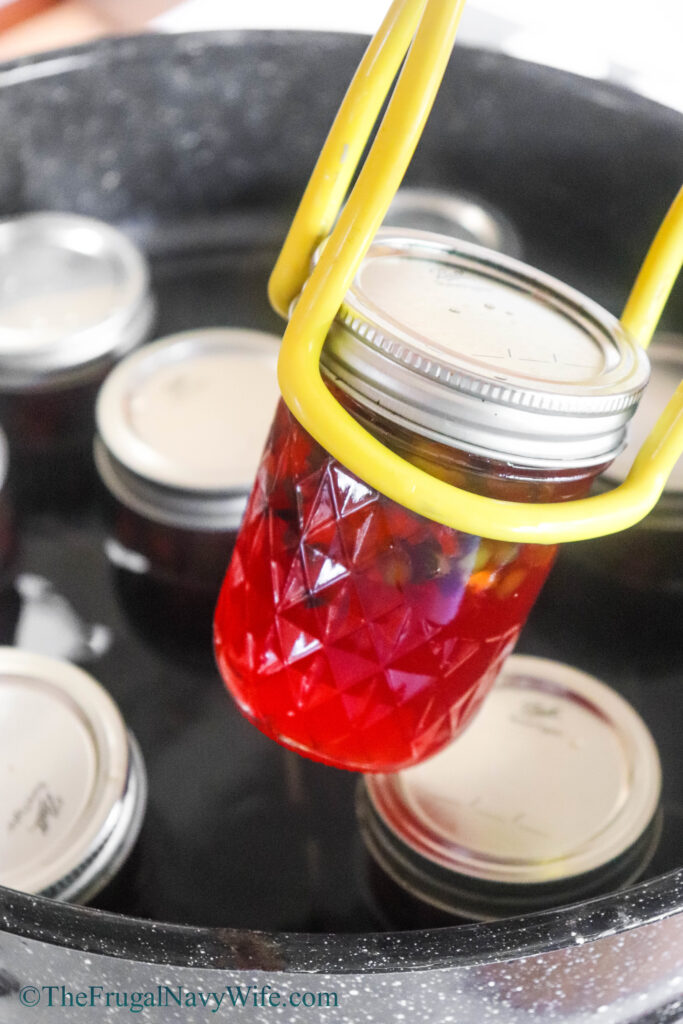
When the water in the canner is at a rolling boil. Use the tongs to place the sealed jars inside. It's
important to do this process with the same size jars, do pints together, and quarts together. When the
water comes to a rolling boil again, after placing the jars in the water, set the timer to 5 minutes for 8oz
jelly jars. I have had to wait 10 minutes for the water to come to a rolling boil again after putting the
jars in.
Have a towel handy when you are ready to remove the jars so the water doesn't drip all over. Use the
canning tongs to remove the jars. Place them on a cooling rack or countertop and listen for them to pop
and ting…that's when you know they've sealed.
Related: Freezer Jam – Easy Freezer Blueberry Jam Recipe
After 24 hours, double check the top lid has been sealed by lightly pressing. There shouldn't be any give.
Remove the band and store the jars in your pantry or cupboard for up to one year. *Do not stack jars, if
there is any leakage, the weight of a jar on the lid may prevent you from realizing it. Wipe down the
jars again if you notice any stickiness for the jelly on the jars or around the lids. Remember to label and
date your lids. Jelly is ready to eat in 4-6 weeks.
If you have any lids that do not properly seal, place the jelly in the refrigerator for 1-2 weeks, taste
testing after 1 week. It will keep in the refrigerator for several weeks and you can enjoy it.
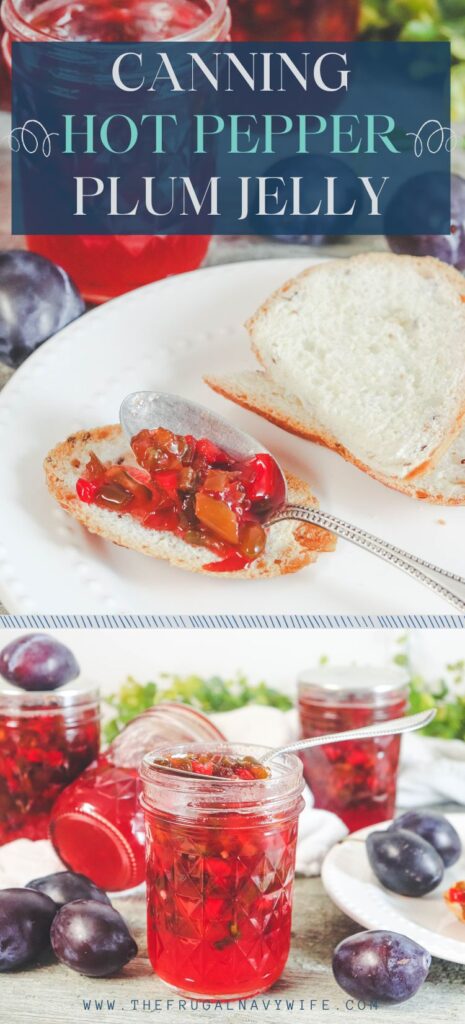
Enjoy with crackers, toast, or on baked potatoes
Canning Hot Pepper Plum Jelly
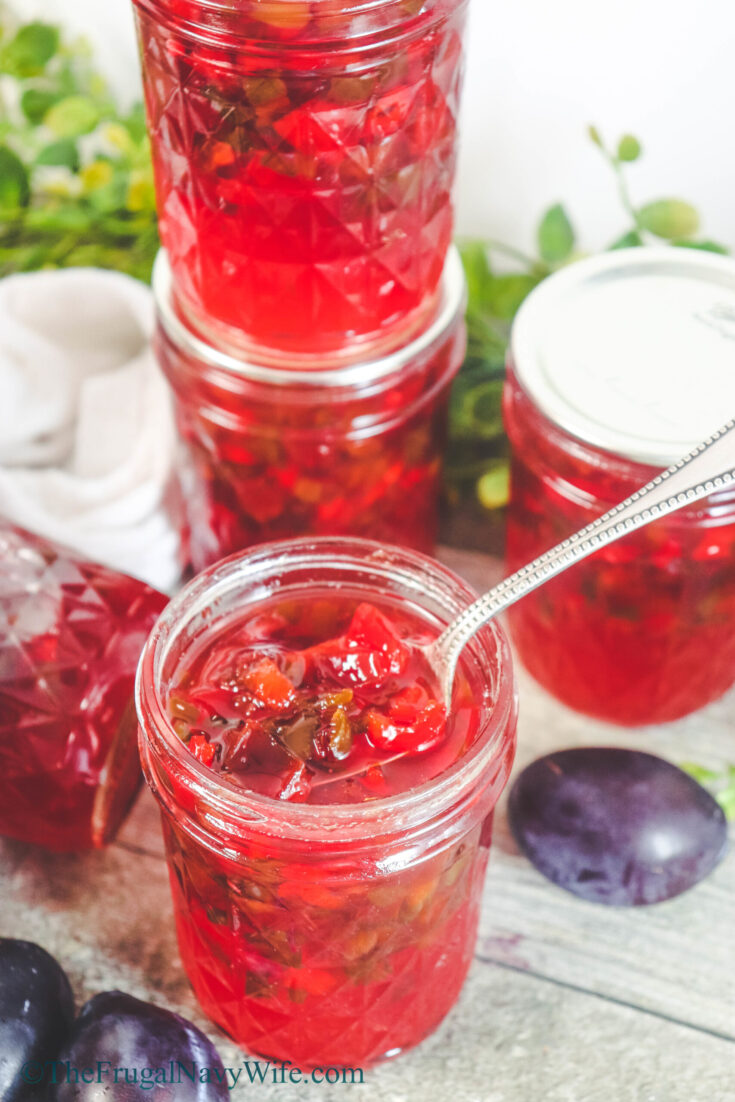
Canning hot pepper plum jelly is a unique condiment that blends the sweet and tart flavors of plums with the spiciness of jalapeno peppers.
Ingredients
- 2 large green bell peppers
- 2 large red bell peppers
- 10 large jalapeno peppers
- 1 lb fresh plums (I used small fresh ones from the farmers market, but regular plums from the grocery store will work as well.
- 1 pkg Sure Jell
- 5 cups sugar
- 1 cup apple cider vinegar
Instructions
- Gather supplies.
- Fill your canner with water and turn it on high as it takes a while to boil.
- Prepare your canning jars by washing them in hot soapy water. Use brand-new lids, rings can be reused if they are not rusty and in good working condition. Fill a large saucepan 3⁄4 full of water and place on the stovetop. You'll place your clean canning jars upside down in the water, along with rings and lids. You may only be able to do 4-6 at a time. *Watch the water can suck up inside the jars and you may need to refill the saucepan as you go. You want to keep your jars hot during this process.
- Chop peppers, discard stems and seeds, and set aside.
- Chop plums, no need to peel! Discard pit.
- Place peppers and plums in a large cooking pot over high heat.
- Add vinegar, and stir.
- Add Sure Jell, and stir.
- Bring ingredients to a rolling boil, stir constantly.
- Add sugar, bring to a rolling boil, and stir constantly for 1 minute.
- Quickly ladle jelly into sterile jars, to 1/4” from top.
- Wipe the rim and jar threads with a paper towel to make sure there isn't any liquid or particles that would prevent a proper seal. Wipe the lids and bands so they are dry.
- Place the lid and band on the jar and tighten. Not too tight. You'll be removing the bands in 24 hours.
- When the water in the canner is at a rolling boil. Use the tongs to place the sealed jars inside. It's important to do this process with the same size jars, do pints together, and quarts together.
- When the water comes to a rolling boil again, after placing the jars in the water, set the timer; for 5 minutes for 8oz jelly jars. I have had to wait 10 minutes for the water to come to a rolling boil again after putting the jars in.
- Have a towel handy when you are ready to remove the jars so the water doesn't drip all over. Use the canning tongs to remove the jars. Place them on a cooling rack or countertop and listen for them to pop and ting...that's when you know they've sealed.
- After 24 hours, double check the top lid has been sealed by lightly pressing. There shouldn't be any give.
- Remove the band and store the jars in your pantry or cupboard for up to one year. *Do not stack jars, if there is any leakage, the weight of a jar on the lid may prevent you from realizing it. Wipe down the jars again if you notice any stickiness for the jelly on the jars or around the lids. Remember to label and date your lids. Jelly is ready to eat in 4-6 weeks.
- If you have any lids that do not properly seal, place the jelly in the refrigerator for 1-2 weeks, taste testing after 1 week. It will keep in the refrigerator for several weeks and you can enjoy it.
- Enjoy with crackers, toast, or on baked potatoes
Recommended Products
As an Amazon Associate and member of other affiliate programs, I earn from qualifying purchases.
Canning Hot Pepper Plum Jelly is not only a great way to preserve the flavors of summer but also a creative way to add some heat to your pantry. This unique blend of spicy and sweet flavors is incredibly versatile, making it the perfect condiment for a wide range of dishes. With its long shelf life and easy preparation, it's an excellent addition to any home cook's routine. So why not try making your own batch of hot pepper plum jelly today and experience the delicious balance of flavors for yourself?



Leave a Reply