Needing a fun and nostalgic costume idea for your next Halloween party or costume event? Why not try making your own Flintstones costumes? These classic cartoon characters have been a popular costume choice for both kids and adults for decades, and it's easy to see why. The colorful and whimsical designs of Fred, Wilma, Barney, and Betty make for a creative and nostalgic costume that is sure to turn heads. Whether you're a seasoned DIY-er or a novice crafter, these costumes are easy to create with just a few simple materials and some creativity. So grab your animal skins and your dinosaur pet and get ready to travel back in time with these DIY Flintstones costumes.
Easy DIY Costumes
- DIY Kids Lego Costume
- 17 DIY Halloween Costumes
- How I Got 4 Kids Halloween Costumes for FREE!
- Kids Ghost Costume – Easy DIY Kids Ghost Tutu Costume
Can I make Flintstones costumes for kids and adults?
Yes, Flintstones costumes can be made for both kids and adults. The designs can be adjusted to fit different sizes by using larger or smaller cuts of fabric.
Can I use household items to make Flintstones costumes?
Yes, you can use household items like old bedsheets and curtains to make Flintstones costumes. This is a great way to save money on materials and upcycle items you already have.
Related: 25 DIY Halloween Kids Costumes
Can I customize my Flintstones costume?
Absolutely! Flintstones costumes are a great opportunity to get creative and add your own personal touch. You can experiment with different colors, textures, and embellishments to make your costume unique.
Do I need to sew the costumes or can I use glue?
You can use both sewing and glue to make Flintstones costumes. Glue can be used for attaching felt details and accessories, while sewing is better for creating more complex pieces like dresses and tunics.
Halloween Costume Patterns
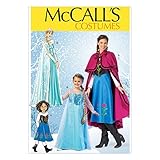
- Can cut out one of the sizes provided on the pattern for making costumes
- Size: KIDS [(3-4)-(5-6)-(7-8)-(10-12)-(14)]
- Includes pattern pieces and sewing instructions
- Made by McCall's Patterns
- Copyright 2014 Printed in the USA

- Includes sewing templates, instructions, and sizing guides for (4) different kid's costumes.
- Costume pattern for kids can be made in sizes 2, 3, 4, and 5.
- Make sure your little one has a cute costume for next Halloween with this sewing pattern packet that includes a ton of fun choices!
- These costumes for kids are perfect for beginners looking to learn how to sew!
- Proudly designed and printed in the USA.

- Includes sewing templates, instructions, fabric recommendations, and sizing guides for (1) shirt, (1) pair of pants, (1) skirt, and (1) belt, and (1) sash.
- Sewing patterns for kids can be made in sizes 3-4, 5-6, and 7-8.
- Turn your little girl or boy in a dreaded pirate with these cute and fun Halloween costume patterns!
- A great pattern for individuals with just above beginner level sewing skills.
- Patterns were made in the USA with multi-language instructions.
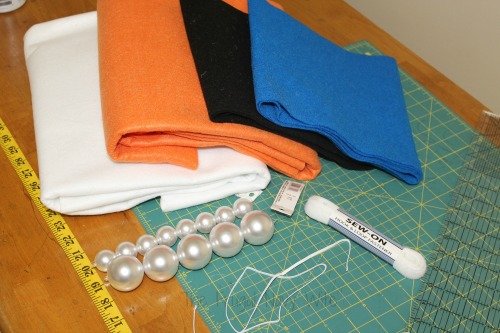
Materials needed to make Flintstones Costumes
Related: 15 DIY Halloween Kids Costumes
Directions to Make Fred Flintstones Costume
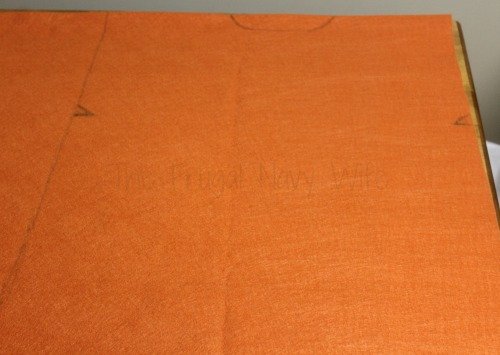
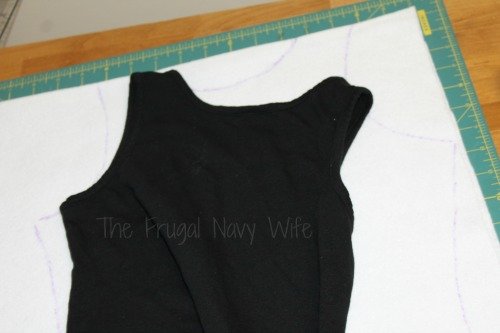
Lay your orange felt out with the fold at the top. Using a shirt that will fit your child like a tunic trace your outline, I still like to add an inch or two on the sides just to make sure it will be oversized.
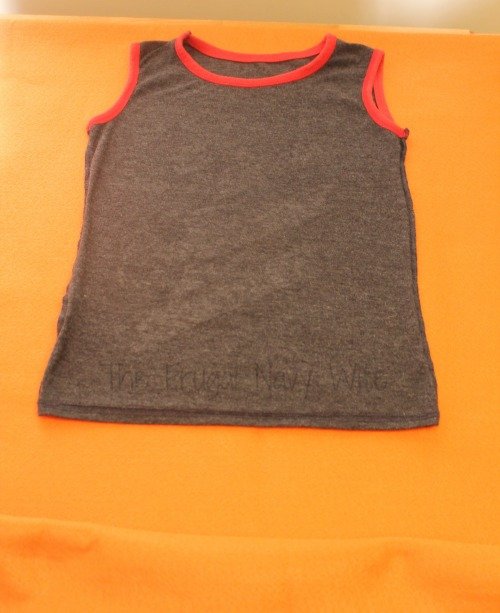
The shirt I used was not long enough, so I just added length. Make sure to mark the collar of the shirt along with where the armpits will be. Once you have the outline, cut BOTH layers of fabric. Be sure not to cut the fold at the top.
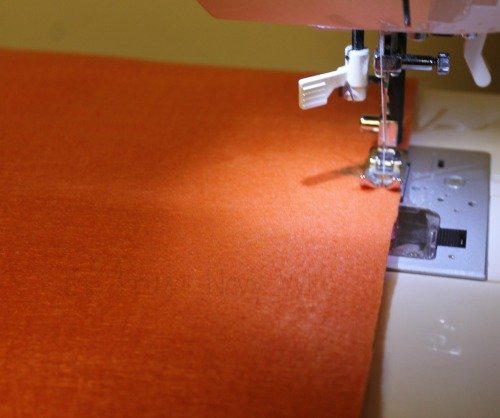
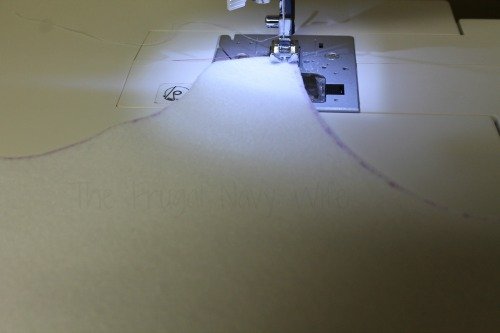
Next, run a seam down both sides. Start at the arm-pit area and stop about mid-calf length on your child.
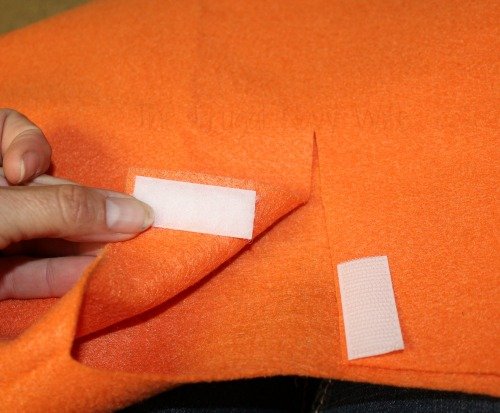
My son has a rather large head, so I cut an opening in the back of the collar and added a small piece of Velcro to hold it closed.
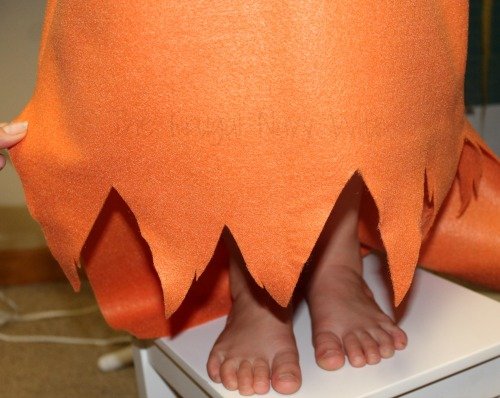
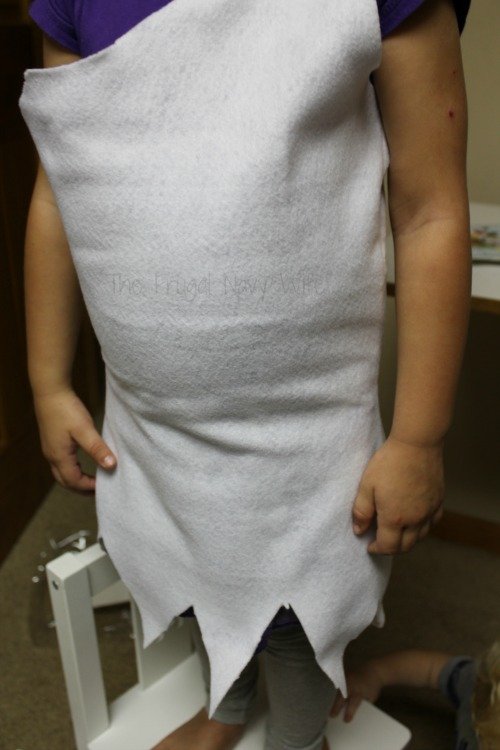
This is where I employ my kids. Try the tunic on and trim to the longest length of the points. After you have it, the right length trim the points. I like to keep them a bit jagged and irregular.
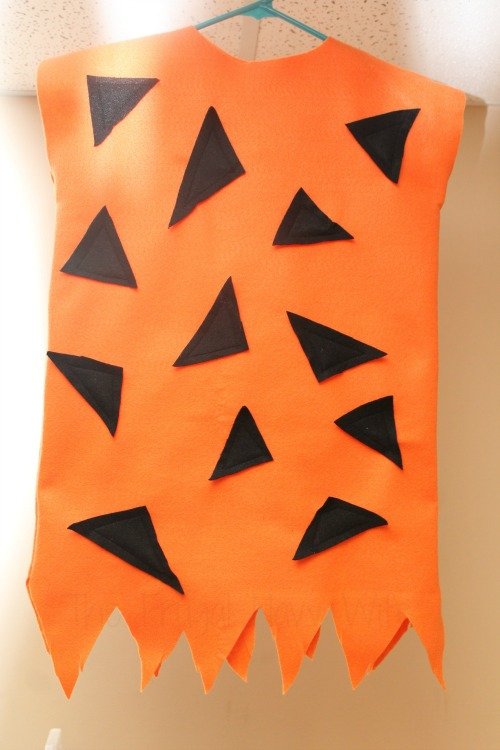
Once the tunic is finished, cut out several triangles. I keep these a bit random and not uniform. Lay these out on the front of the tunic and pin in place. You have several options to secure these triangles. I choose to sew them on with my machine. If you are not comfortable with this hot glue and hand stitching are great options.
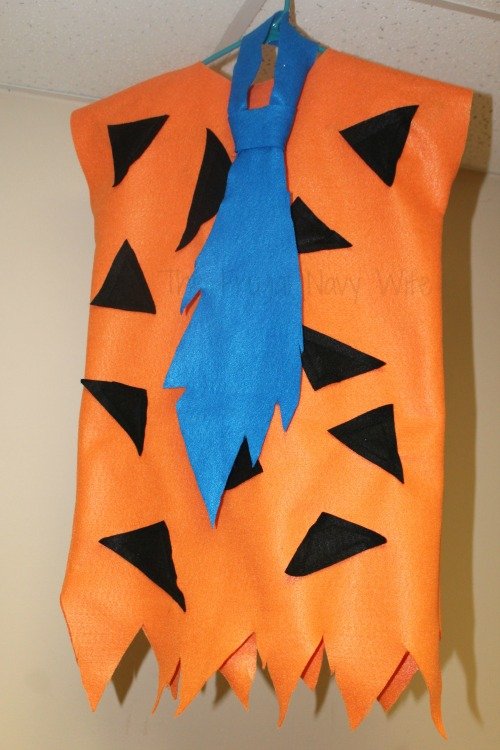
Last it is time for the tie. Make sure you have enough length to double the length of your tunic. Fred’s tie is very oversized. Free-hand the outline for the front of the tie.
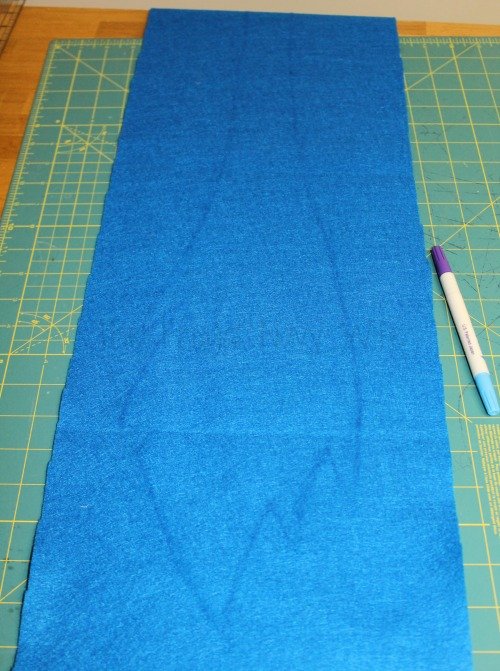
For the “tail” or the “short” end, I just keep it simple and straight. Cut out the tie and tie in a loose Windsor knot.
Your Fred Costume is ready.
Related: DIY Kids Tutu Scarecrow Costume
Directions to Make Wilma Flintstones Costumes
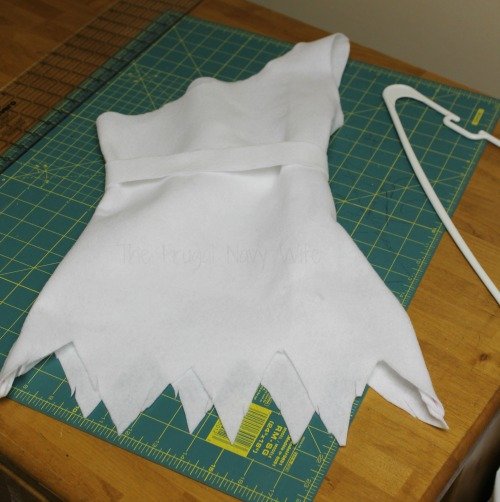
Wilma is a touch more difficult due to being a bit tailored. This is still and very simple costume. Lay out your white felt with the fold at the top again. Trace the outline using a shirt that fits about how you want the dress to fit. I still like to add an inch or so on the sides for the seam allowance. Cut out the dress cutting BOTH layers.
Sew the layers together just like you did with Fred. Start at the arm-pit area and stop this time about mid-thigh.
Re-employ kid! This time, you will be trimming about knee length. Cut your irregular/jagged points for the bottom of the dress. Convince your child to allow you to cut one shoulder off. Wilma has one shoulder exposed. I did lots of online looking, and it seems to change shoulders. Typically it seems to be the right one but not often enough that anyone would notice!
Cut a 1-1 ½ inch strip of your white felt to make a simple belt. This will tailor the waist if your dress is a bit tunic style. My daughter is a bit thick around the middle, so this helps give her a bit of a waist.
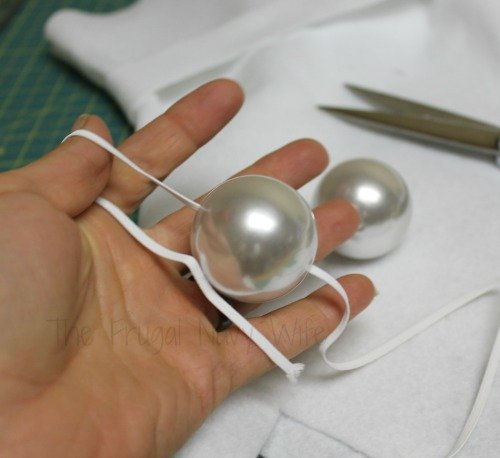
Thread the beads on the cord (I used elastic) and keep the length, so it sits up high on the neck. Wilma’s necklace is a very stylish choker.
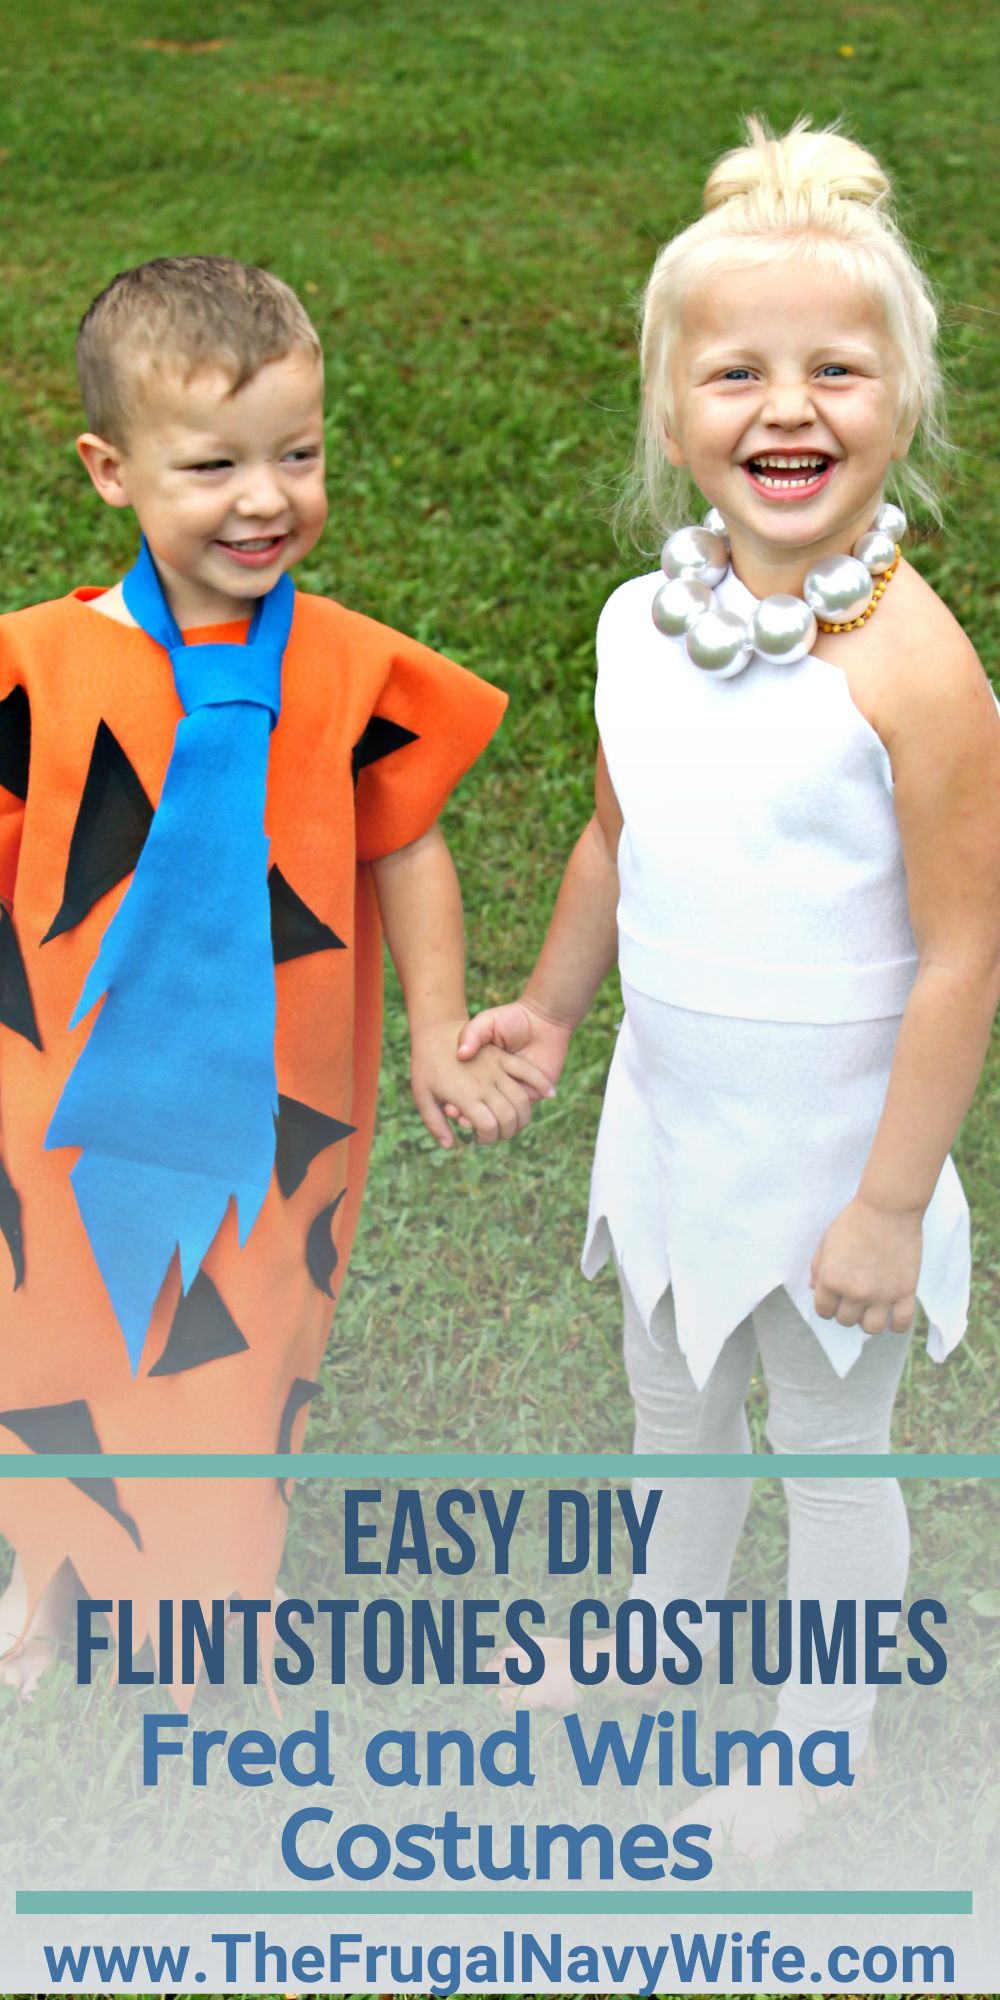
Now your Flintstones Costumes are done! Now it's time to model your Fred and Wilma Costume!
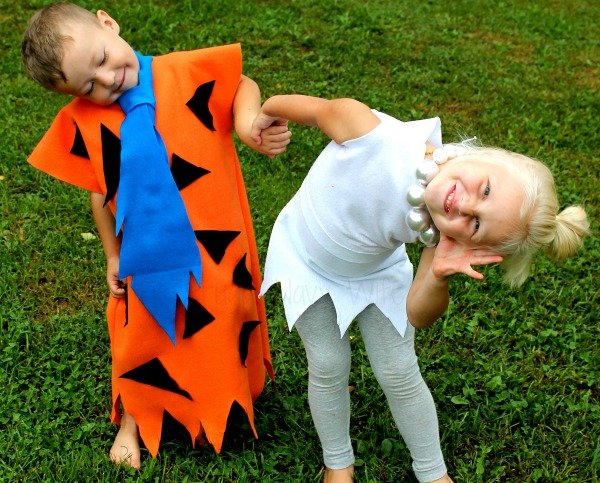
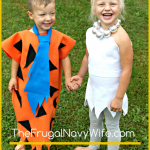
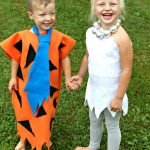
Fred and Wilma Costume - Flinstone DIY Costumes
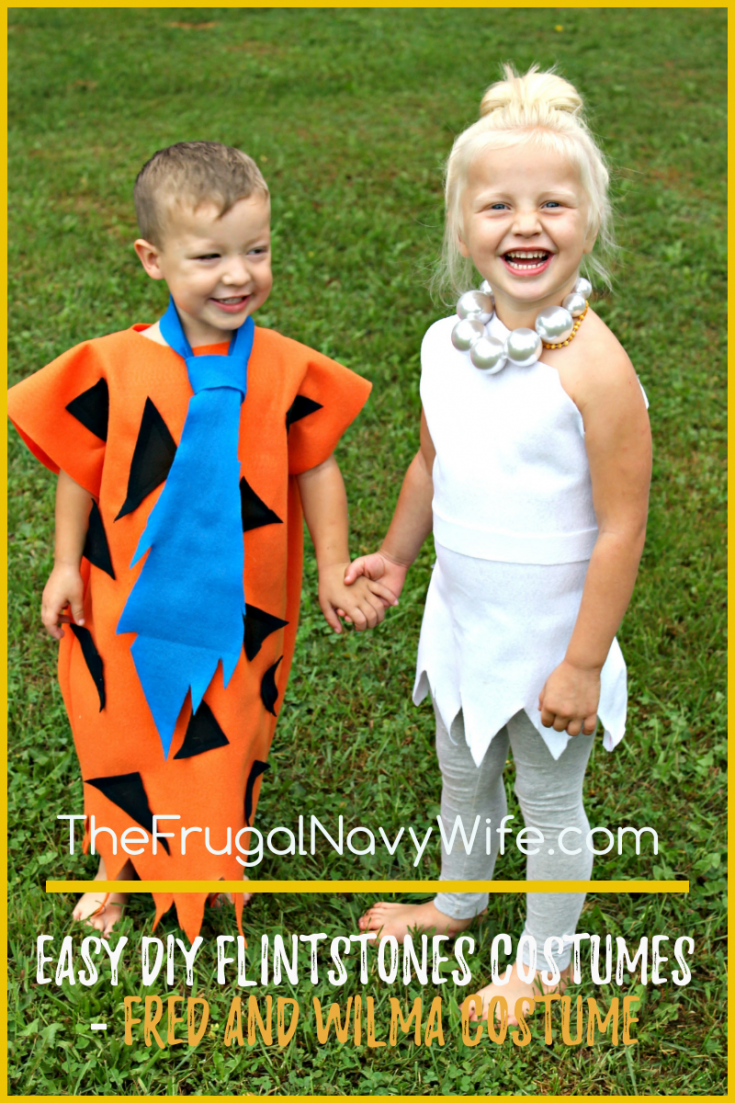
Looking for easy DIY Flintstones Costumes? I have the cutest kids Fred and Wilma costume!! It's so easy to make and you kids will love it as much as you do!
Materials
- 1 Yard Each White and Orange Felt
- 1/4 Yard Each Blue and Black Felt
- Extra Large White Beads (enough to fit around your child’s neck)
- White Cord
- Small (1 inch) piece of Velcro
Tools
- Scissors
- Sewing Machine
Instructions
Directions for Fred Flintstones Costumes
- Lay your orange felt out with the fold at the top. Using a shirt that will fit your child like a tunic trace your outline, I still like to add an inch or two on the sides just to make sure it will be oversized.
- The shirt I used was not long enough, so I just added length. Make sure to mark the collar of the shirt along with where the armpits will be. Once you have the outline, cut BOTH layers of fabric. Be sure not to cut the fold at the top.
- Next, run a seam down both sides. Start at the arm-pit area and stop about mid-calf length on your child.
- My son has a rather large head, so I cut an opening in the back of the collar and added a small piece of Velcro to hold it closed.
- This is where I employ my kids. Try the tunic on and trim to the longest length of the points. After you have it, the right length trim the points. I like to keep them a bit jagged and irregular.
- Once the tunic is finished, cut out several triangles. I keep these a bit random and not uniform. Lay these out on the front of the tunic and pin in place. You have several options to secure these triangles. I choose to sew them on with my machine. If you are not comfortable with this hot glue and hand stitching are great options.
- Last it is time for the tie. Make sure you have enough length to double the length of your tunic. Fred’s tie is very oversized. Freehand the outline for the front of the tie.
- For “tail” or the “short” end, I just keep it simple and straight. Cut out the tie and tie in a loose Windsor knot.
Directions for Wilma Flintstones Costumes
- Wilma is a touch more difficult due to being a bit tailored. This is still and very simple costume. Layout your white felt with the fold at the top again. Trace the outline using a shirt that fits about how you want the dress to fit. I still like to add an inch or so on the sides for the seam allowance. Cut out the dress cutting BOTH layers.
- Sew the layers together just like you did with Fred. Start at the arm-pit area and stop this time about mid-thigh.
- Re-employ kid! This time, you will be trimming about knee length. Cut your irregular/jagged points for the bottom of the dress. Convince your child to allow you to cut the one shoulder off. Wilma has one shoulder exposed. I did lots of online looking, and it seems to change shoulders. Typically it seems to be the right one but not often enough that anyone would notice!
- Cut a 1-1 ½ inch strip of your white felt to make a simple belt. This will tailor the waist if your dress is a bit tunic style. My daughter is a bit thick around the middle, so this helps give her a bit of a waist.
- Thread the beads on the cord (I used elastic) to keep the length, so it sits up high on the neck. Wilma’s necklace is a very stylish choker.
Recommended Products
As an Amazon Associate and member of other affiliate programs, I earn from qualifying purchases.


Flintstones costumes are a fun and nostalgic way to celebrate Halloween or any costume party. With their recognizable character designs and colorful outfits, dressing up as Fred, Wilma, Barney, or Betty is sure to bring back memories of the classic cartoon series. Whether you're going for a family theme or just want to stand out from the crowd, Flintstones costumes offer a variety of options for all ages and genders. From DIY options to officially licensed costumes, there's something for everyone who wants to add a touch of prehistoric charm to their Halloween festivities. So, embrace your inner caveman or cavewoman and put together a Flintstones costume that will be the talk of the town!
Love the costumes! Can you tell me where you purchased the white beads for Wilma’s necklace? Thank you